
So, We Bought a Beach House Fixer Upper… Part 3
The Story Behind our Amelia Island Beach House Renovation - Part 3
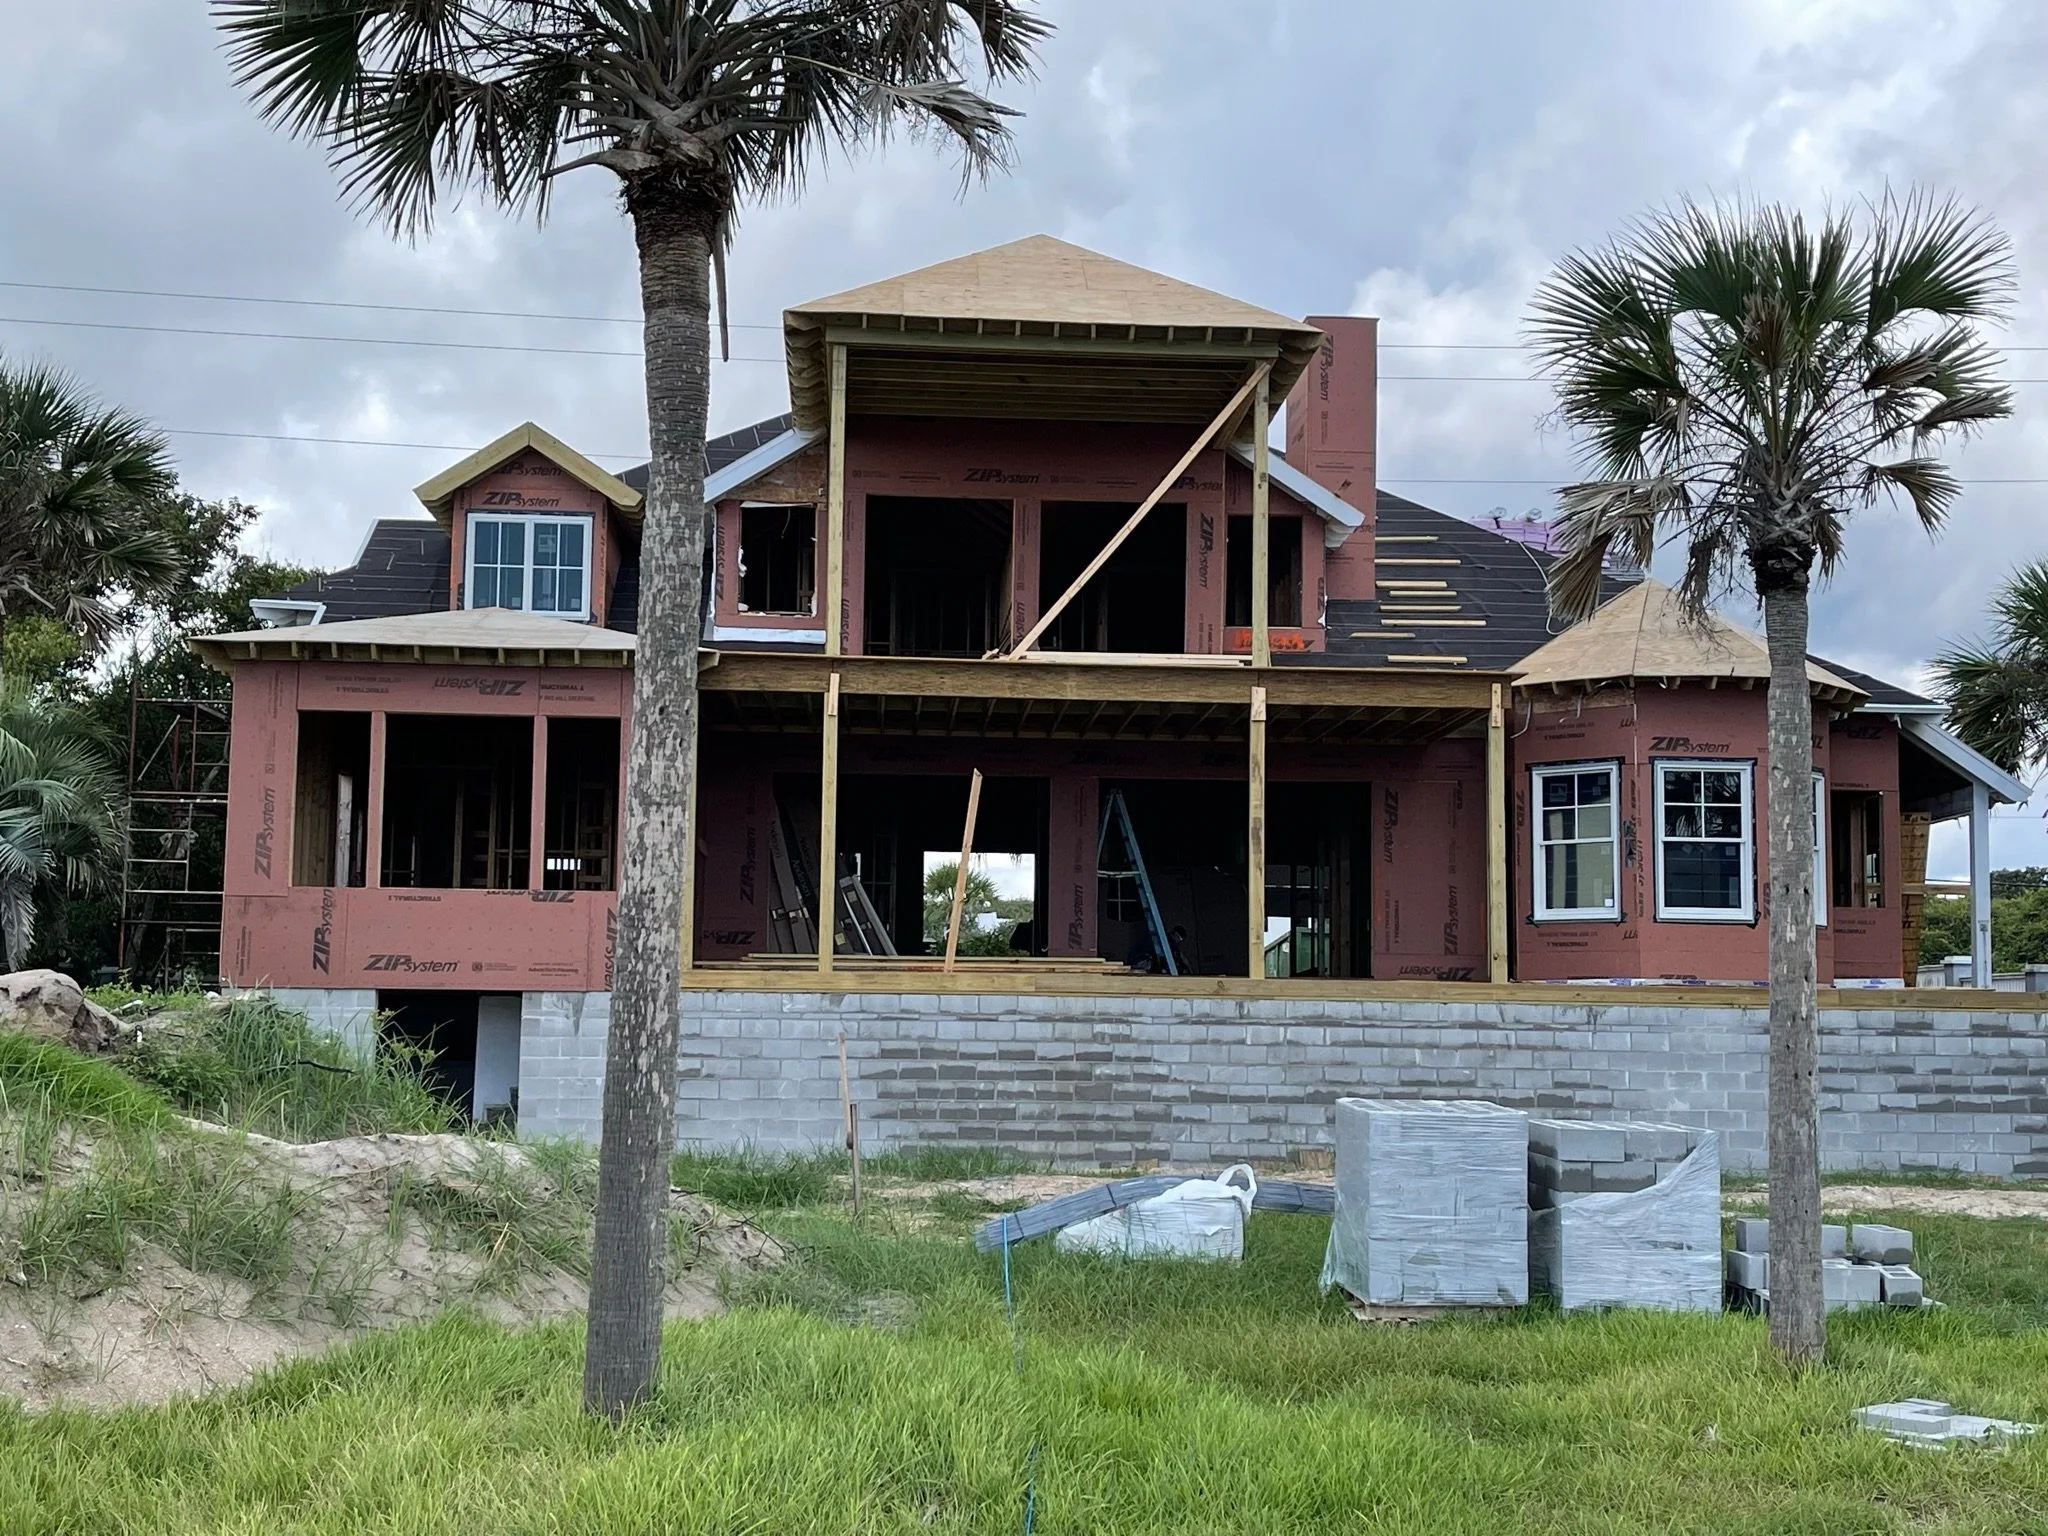
Now that we have the structure in place, it’s time to start putting our home back together again. The new windows are starting to go in and the new roof shingles will be finished soon, too!
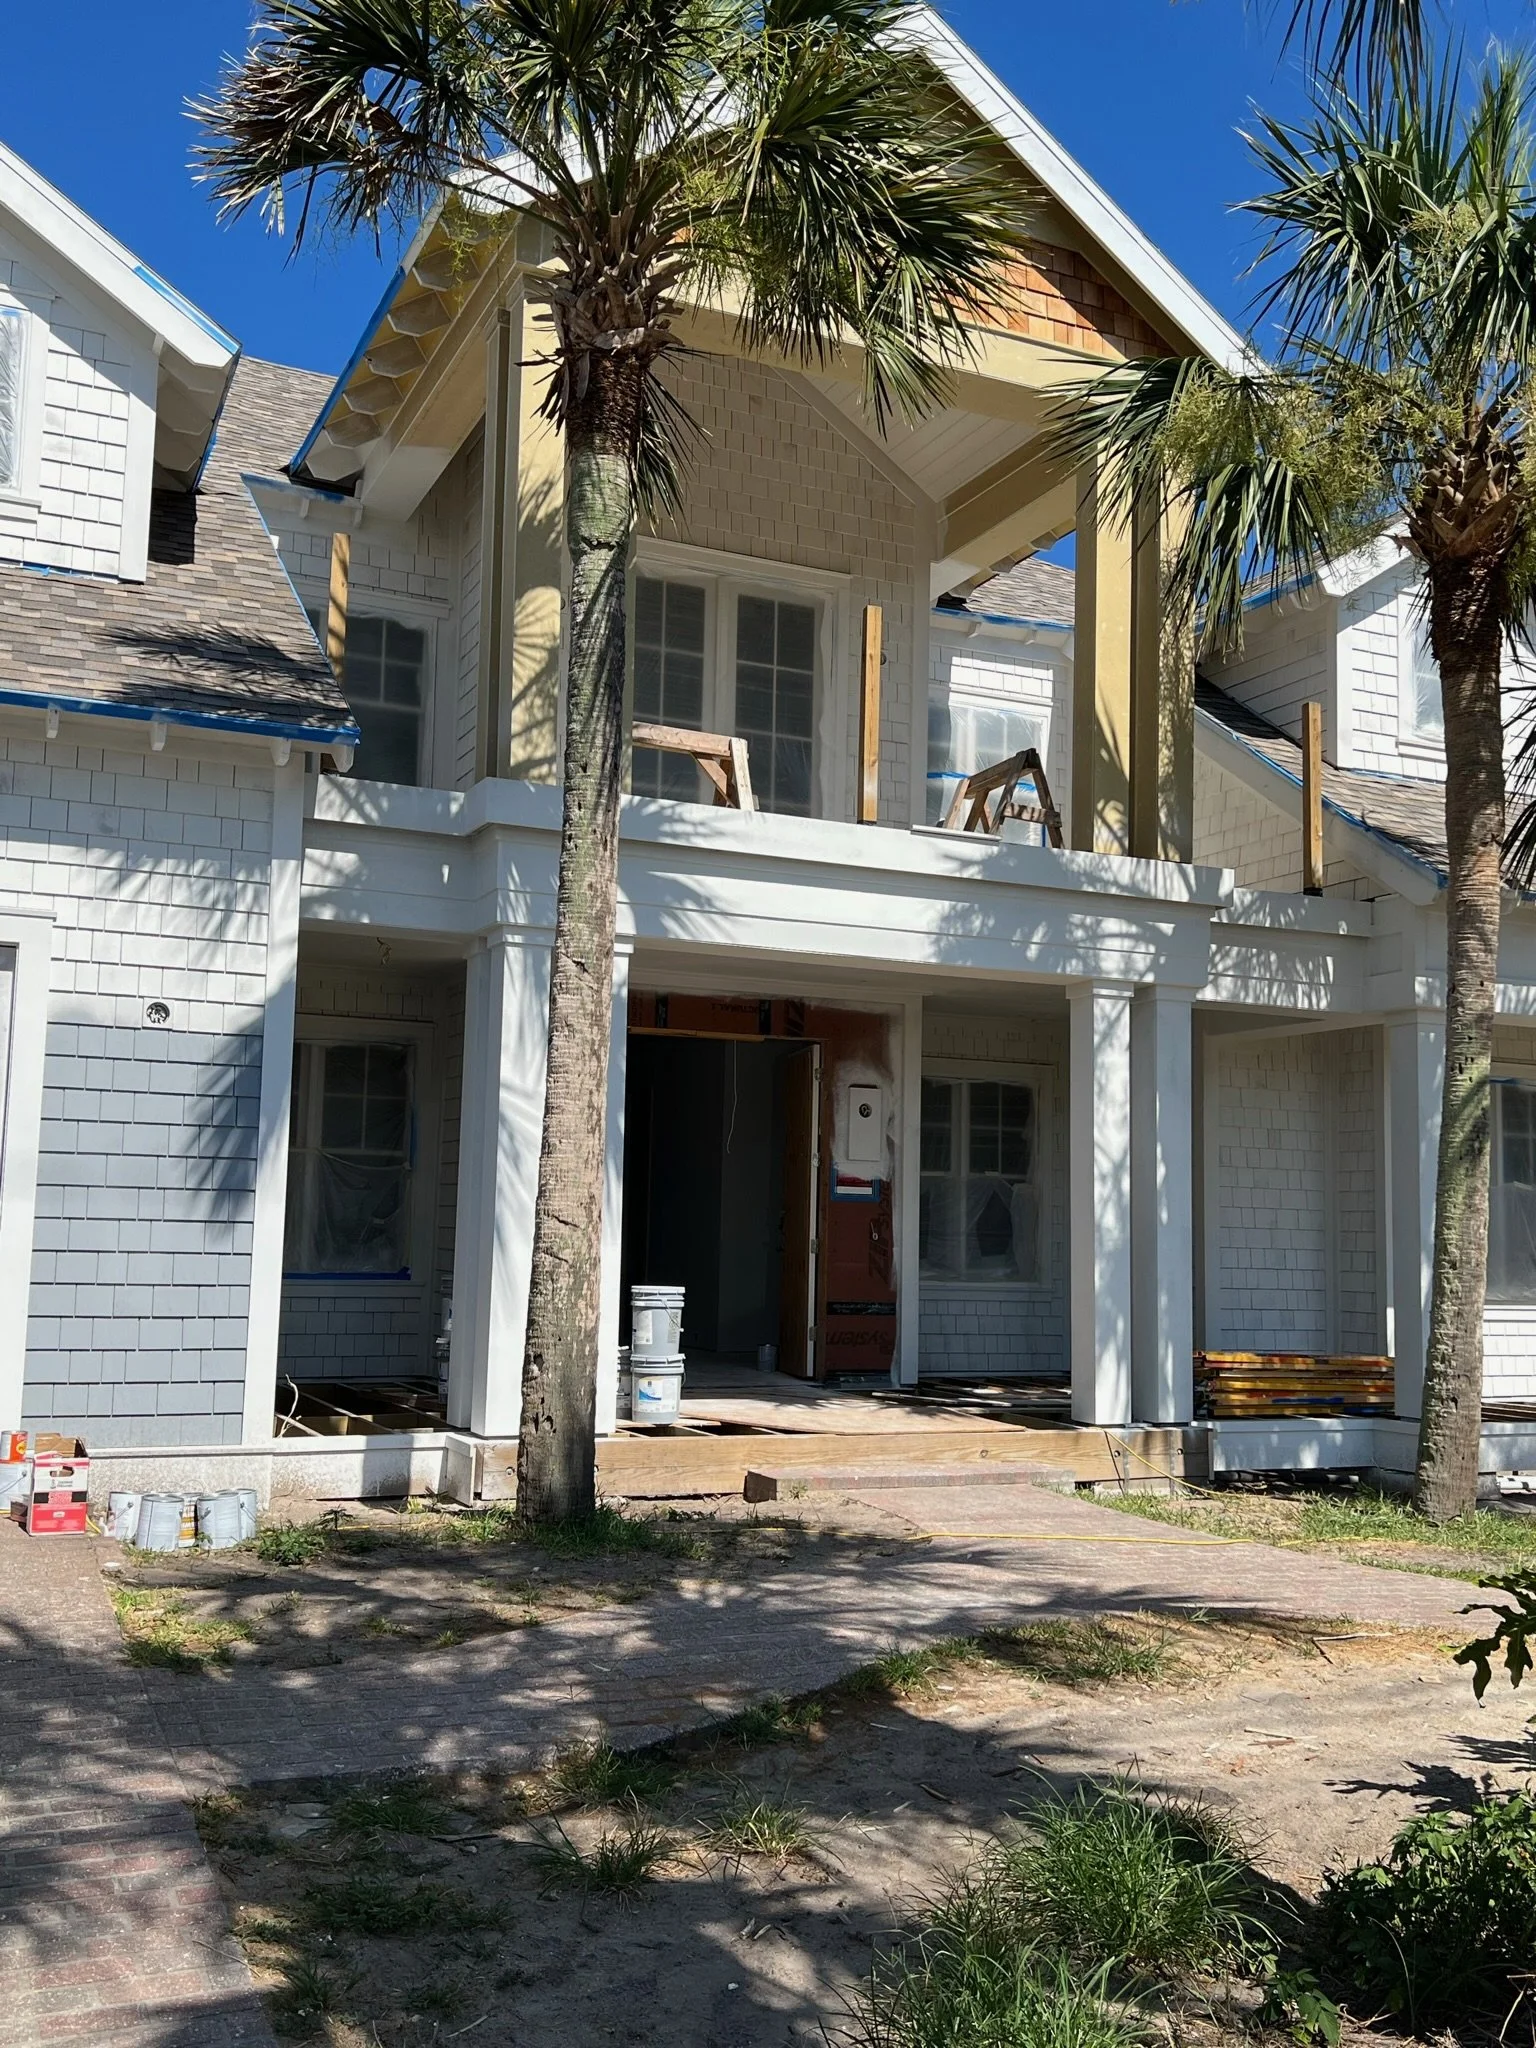
The cedar shakes are getting a coat of primer before they are painted this gorgeous blue gray color. After a lot of careful consideration, I chose Benjamin Moore Pewter to compliment the beautiful scenery.
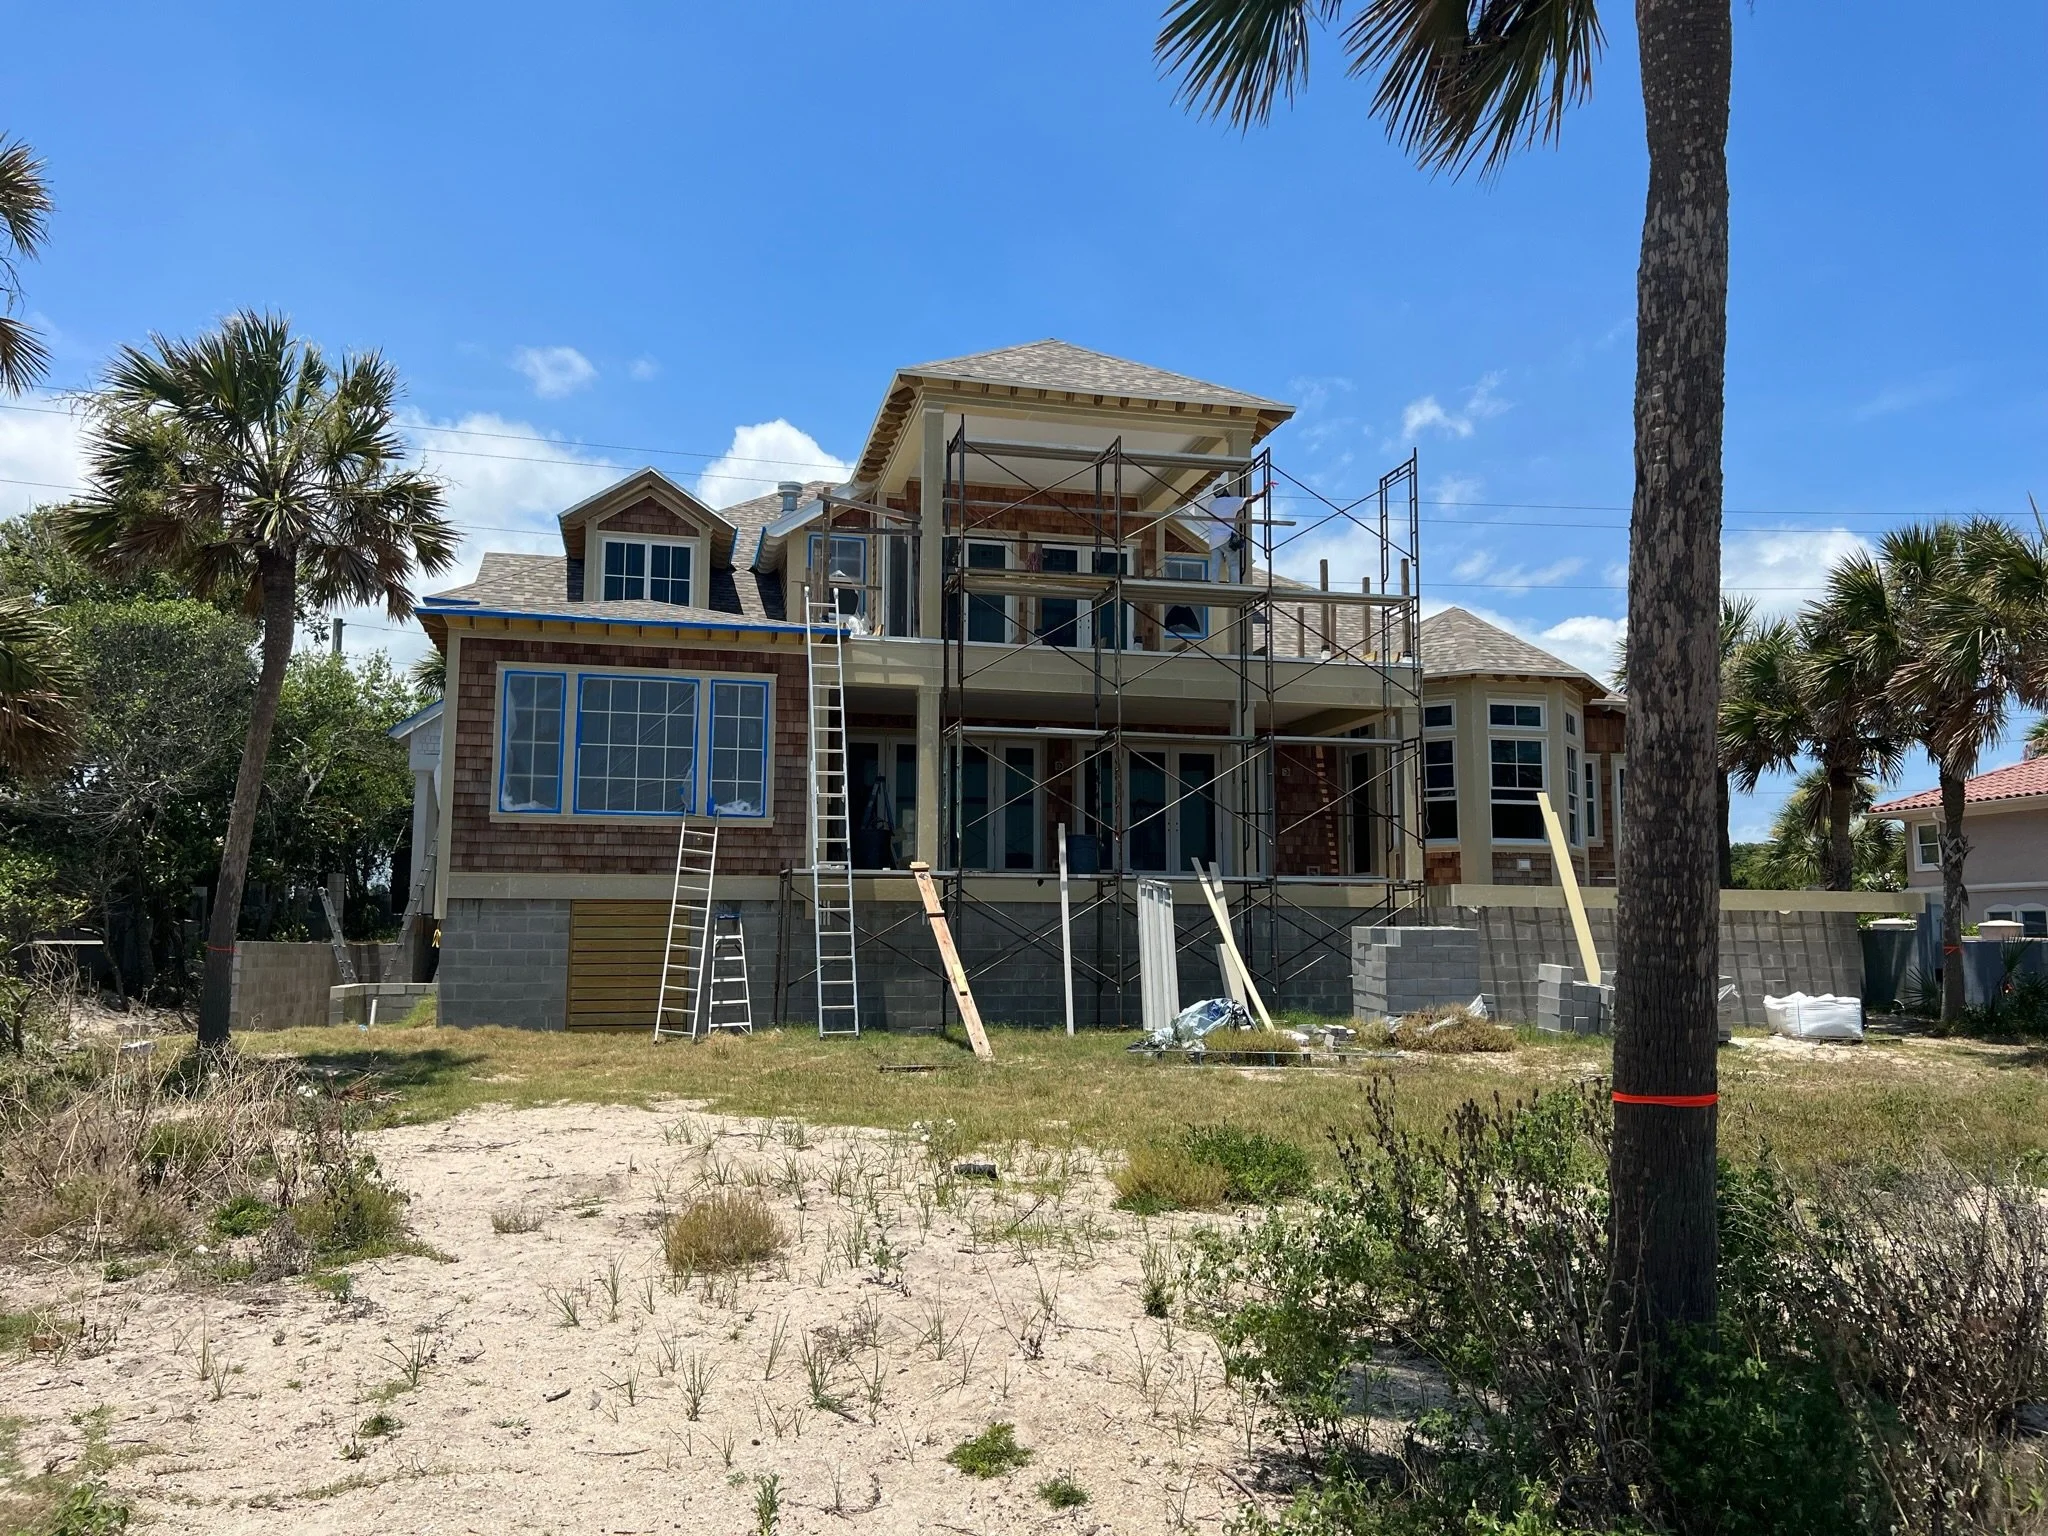
With the windows and doors installed, the new Owner’s Suite (on the left) really began to take shape as a seamless part of the home. Design decisions are often practical as well as beautiful. We were thrilled that the new dormer above the Owner’s Suite checked both boxes. It will flood the new guest bedroom with light and an amazing view of the ocean!
Finding the right color of roof shingle took patience, but it was worth the effort. The final selection provides a great balance with the cedar shake color and I really loved the way this color turned out!
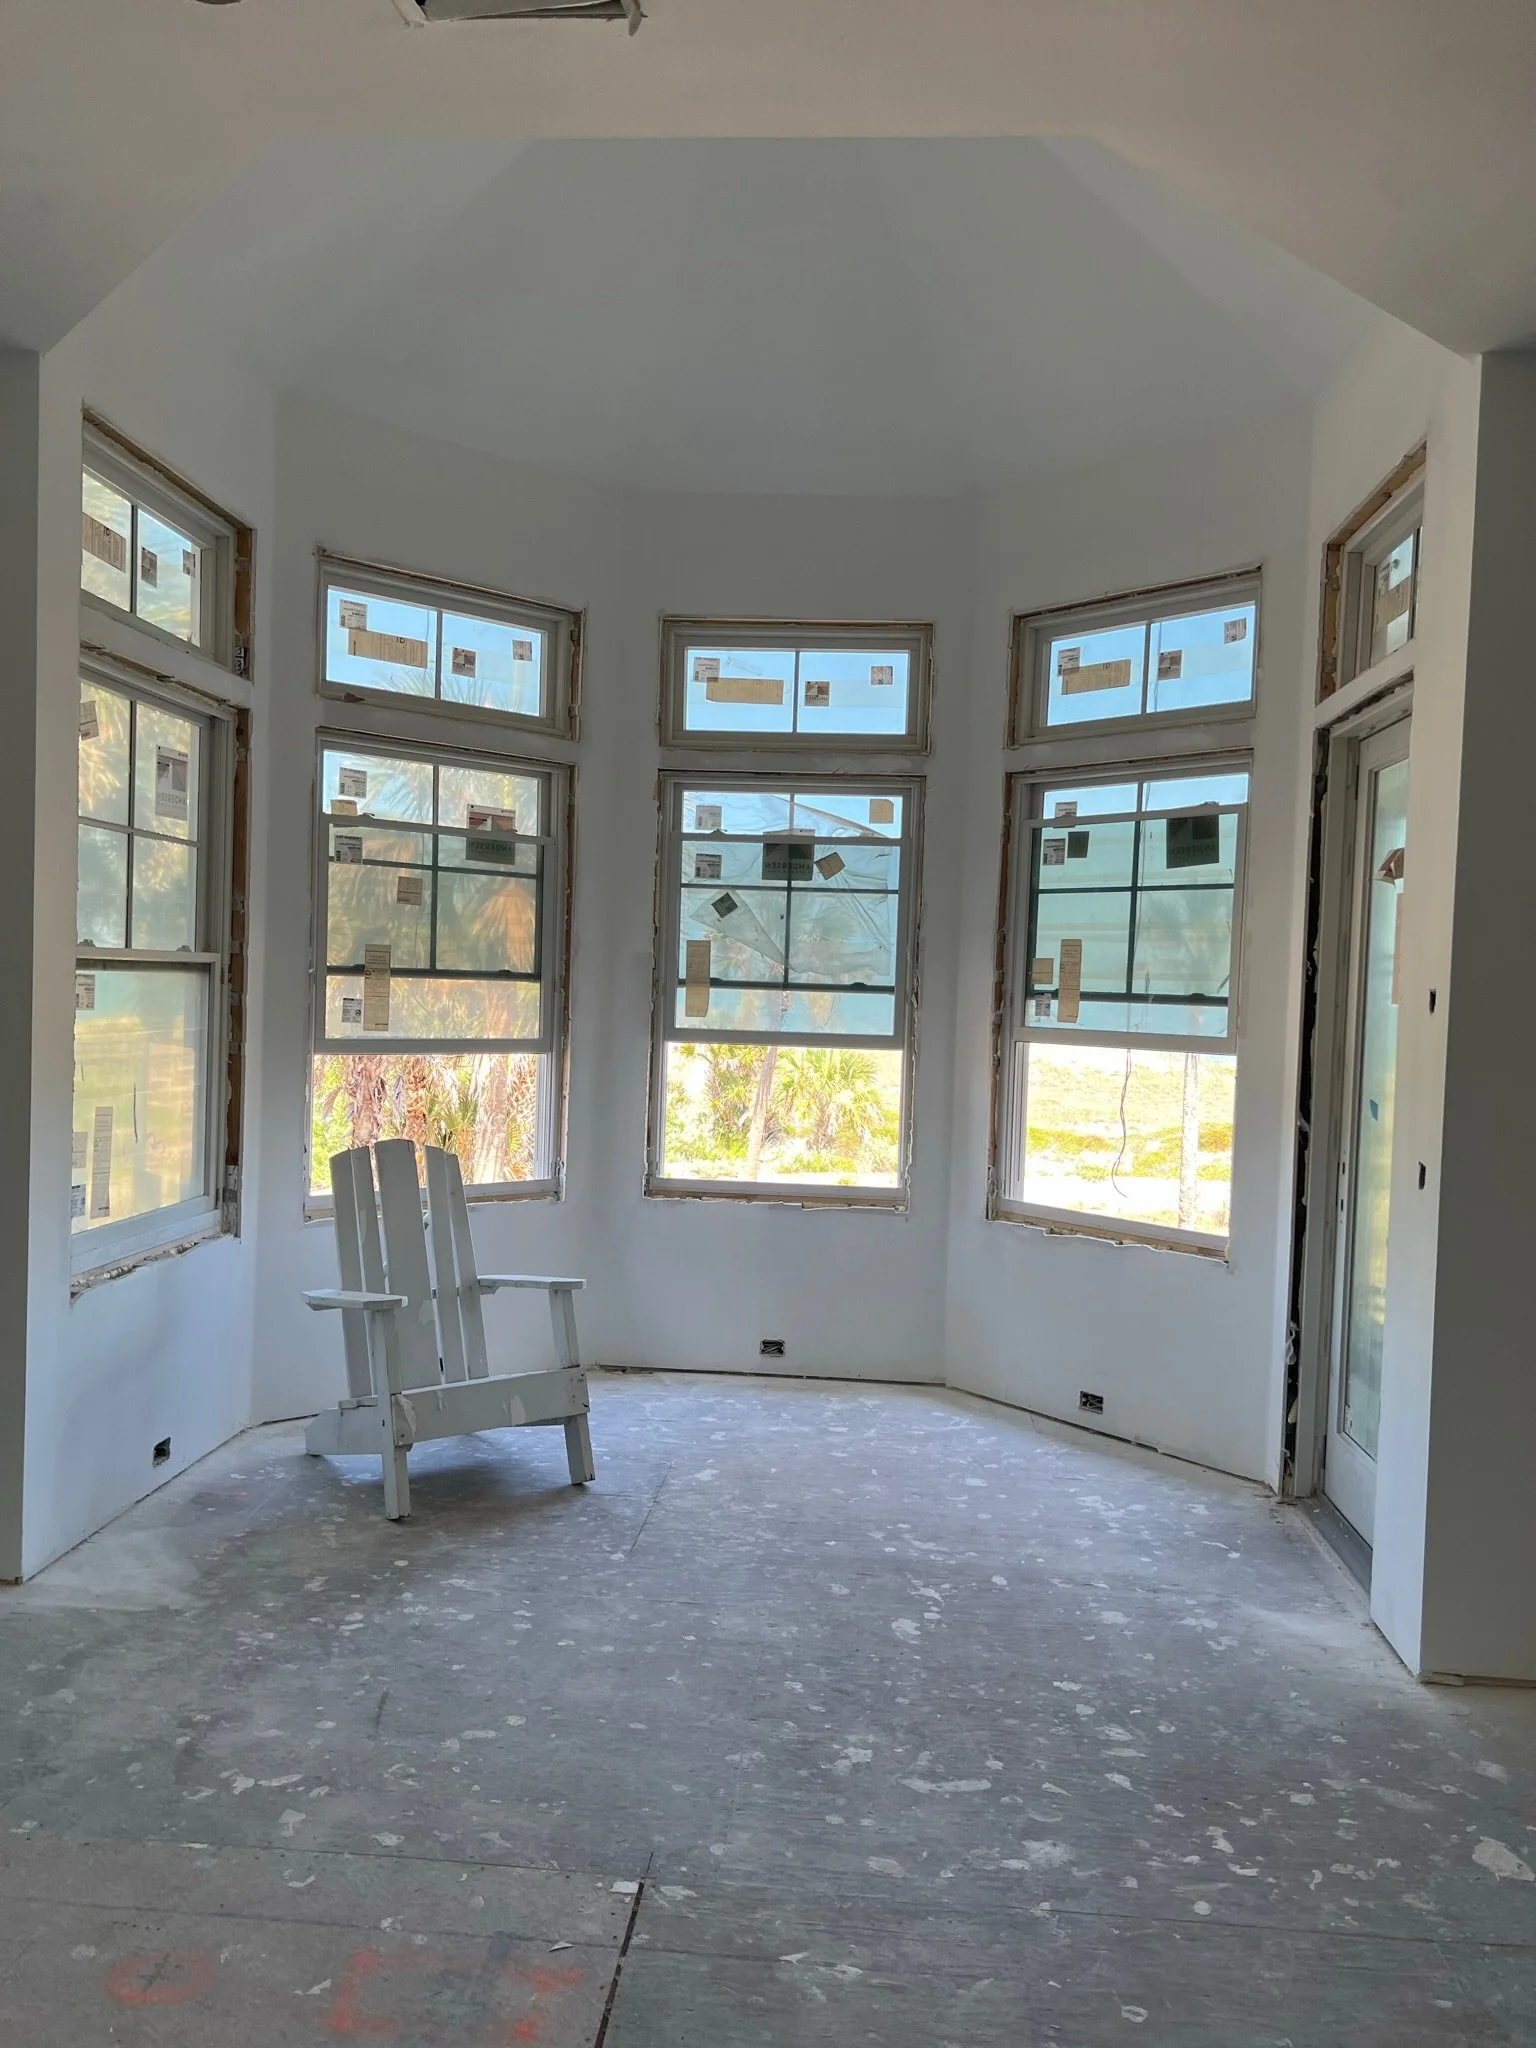
Now moving to the interiors, the new windows and transoms have absolutely transformed the breakfast nook…plus we have sheetrock?! This was a huge update that signaled the beginning of the end of the home construction phase.
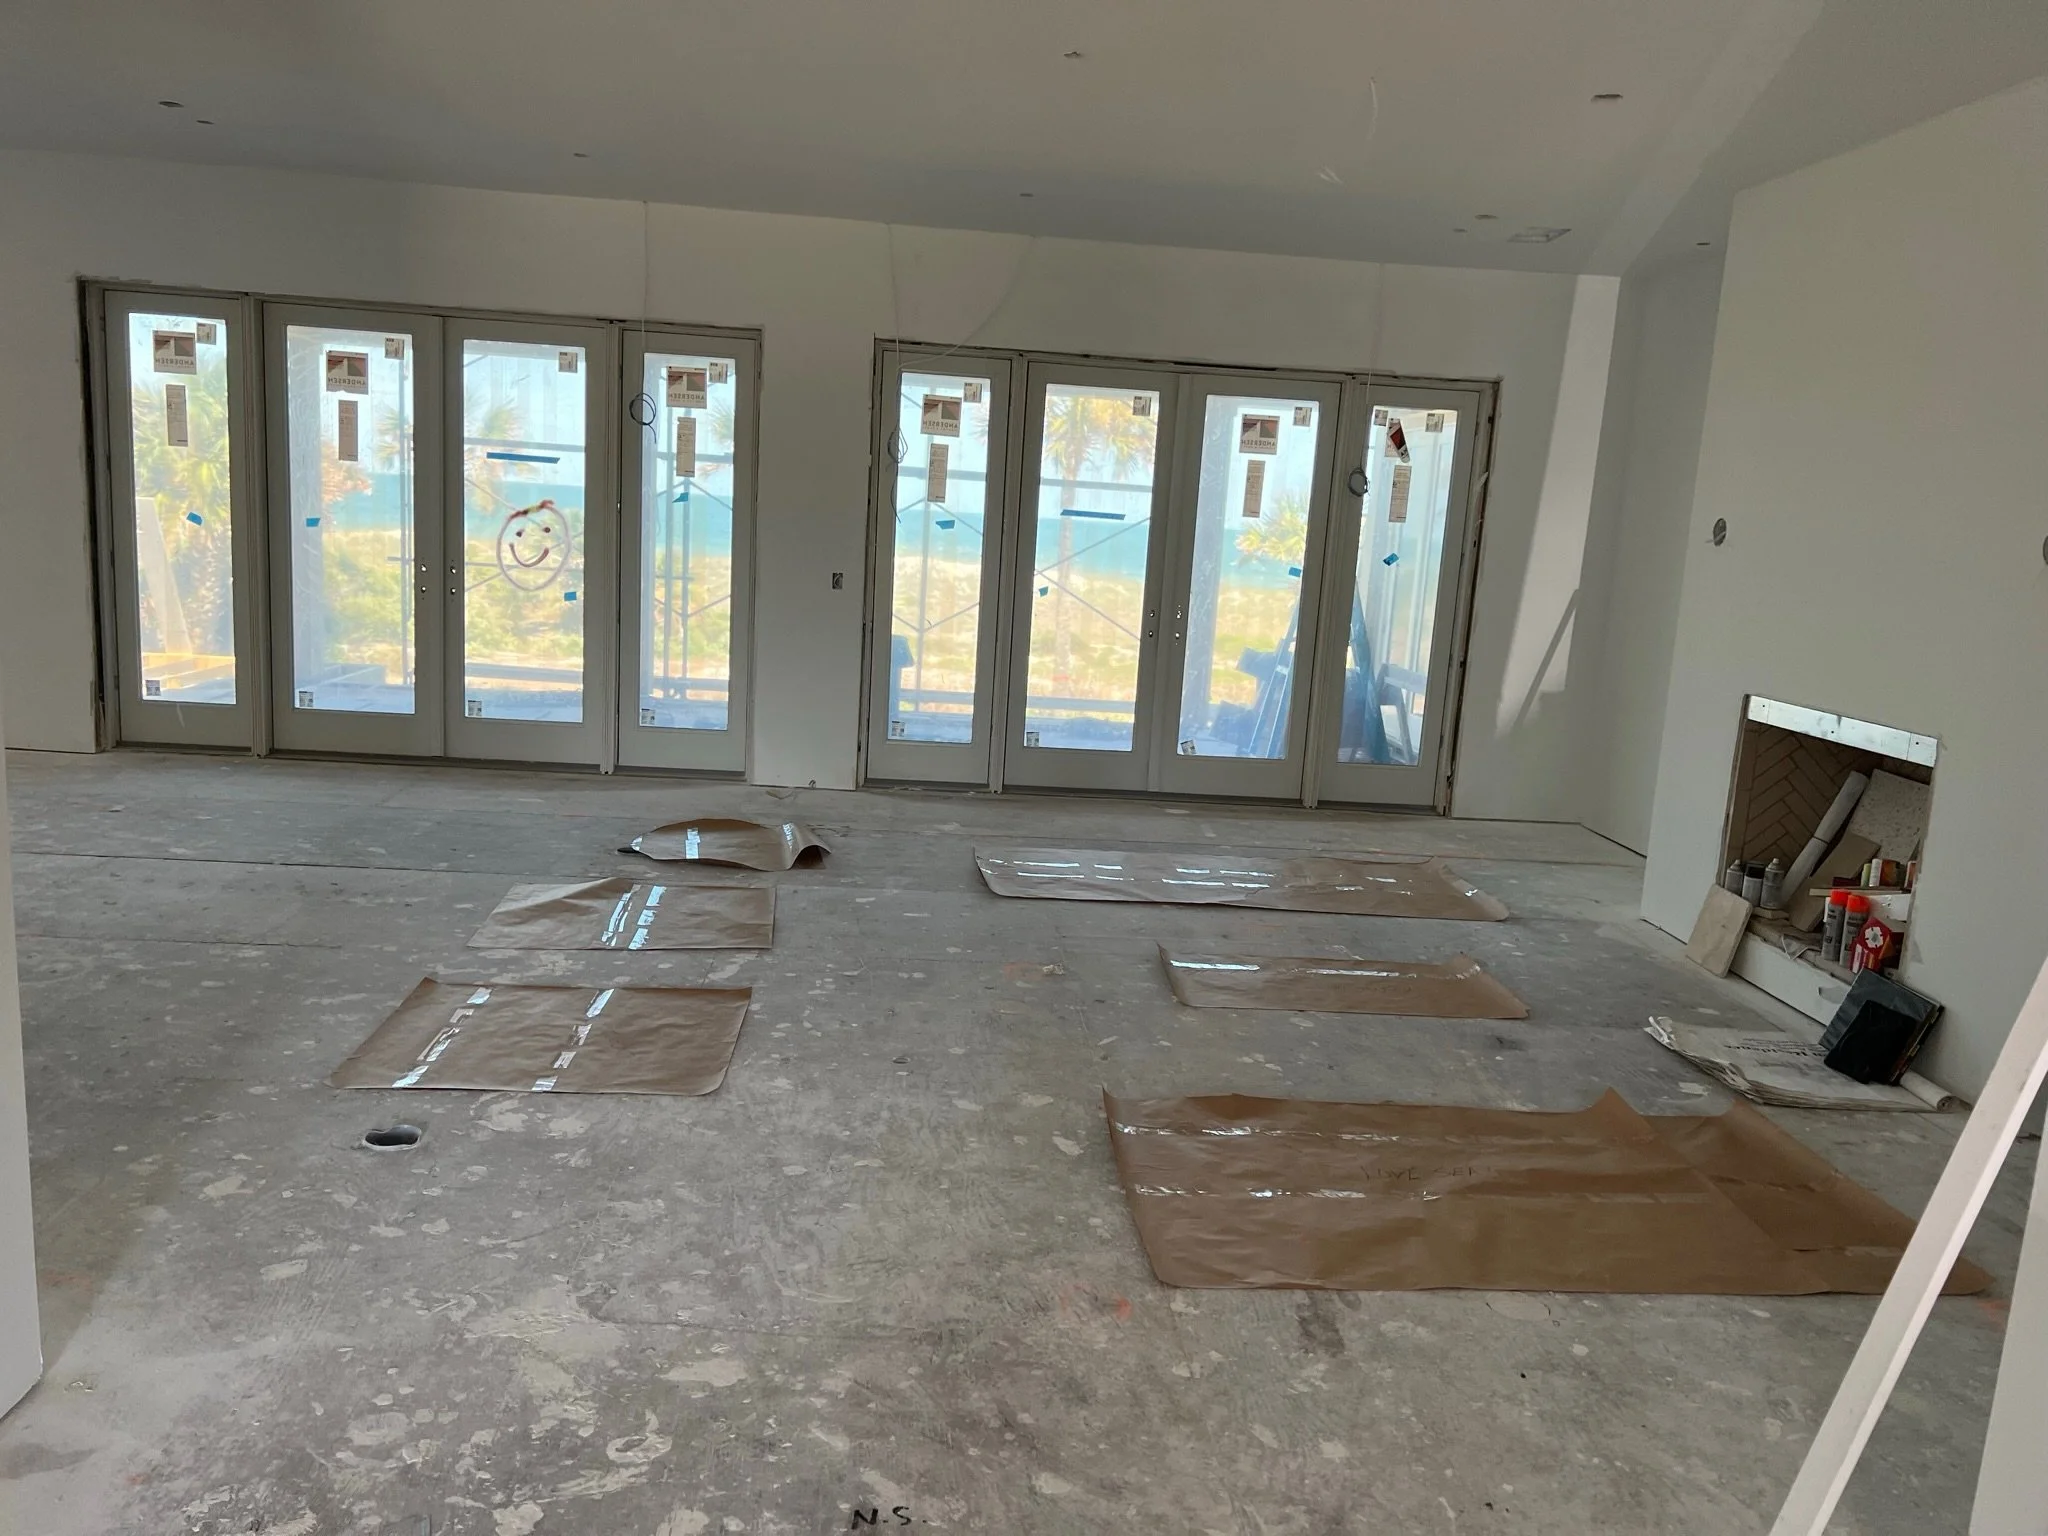
The new Family Room doors are in…someone else must be happy about it too! :)
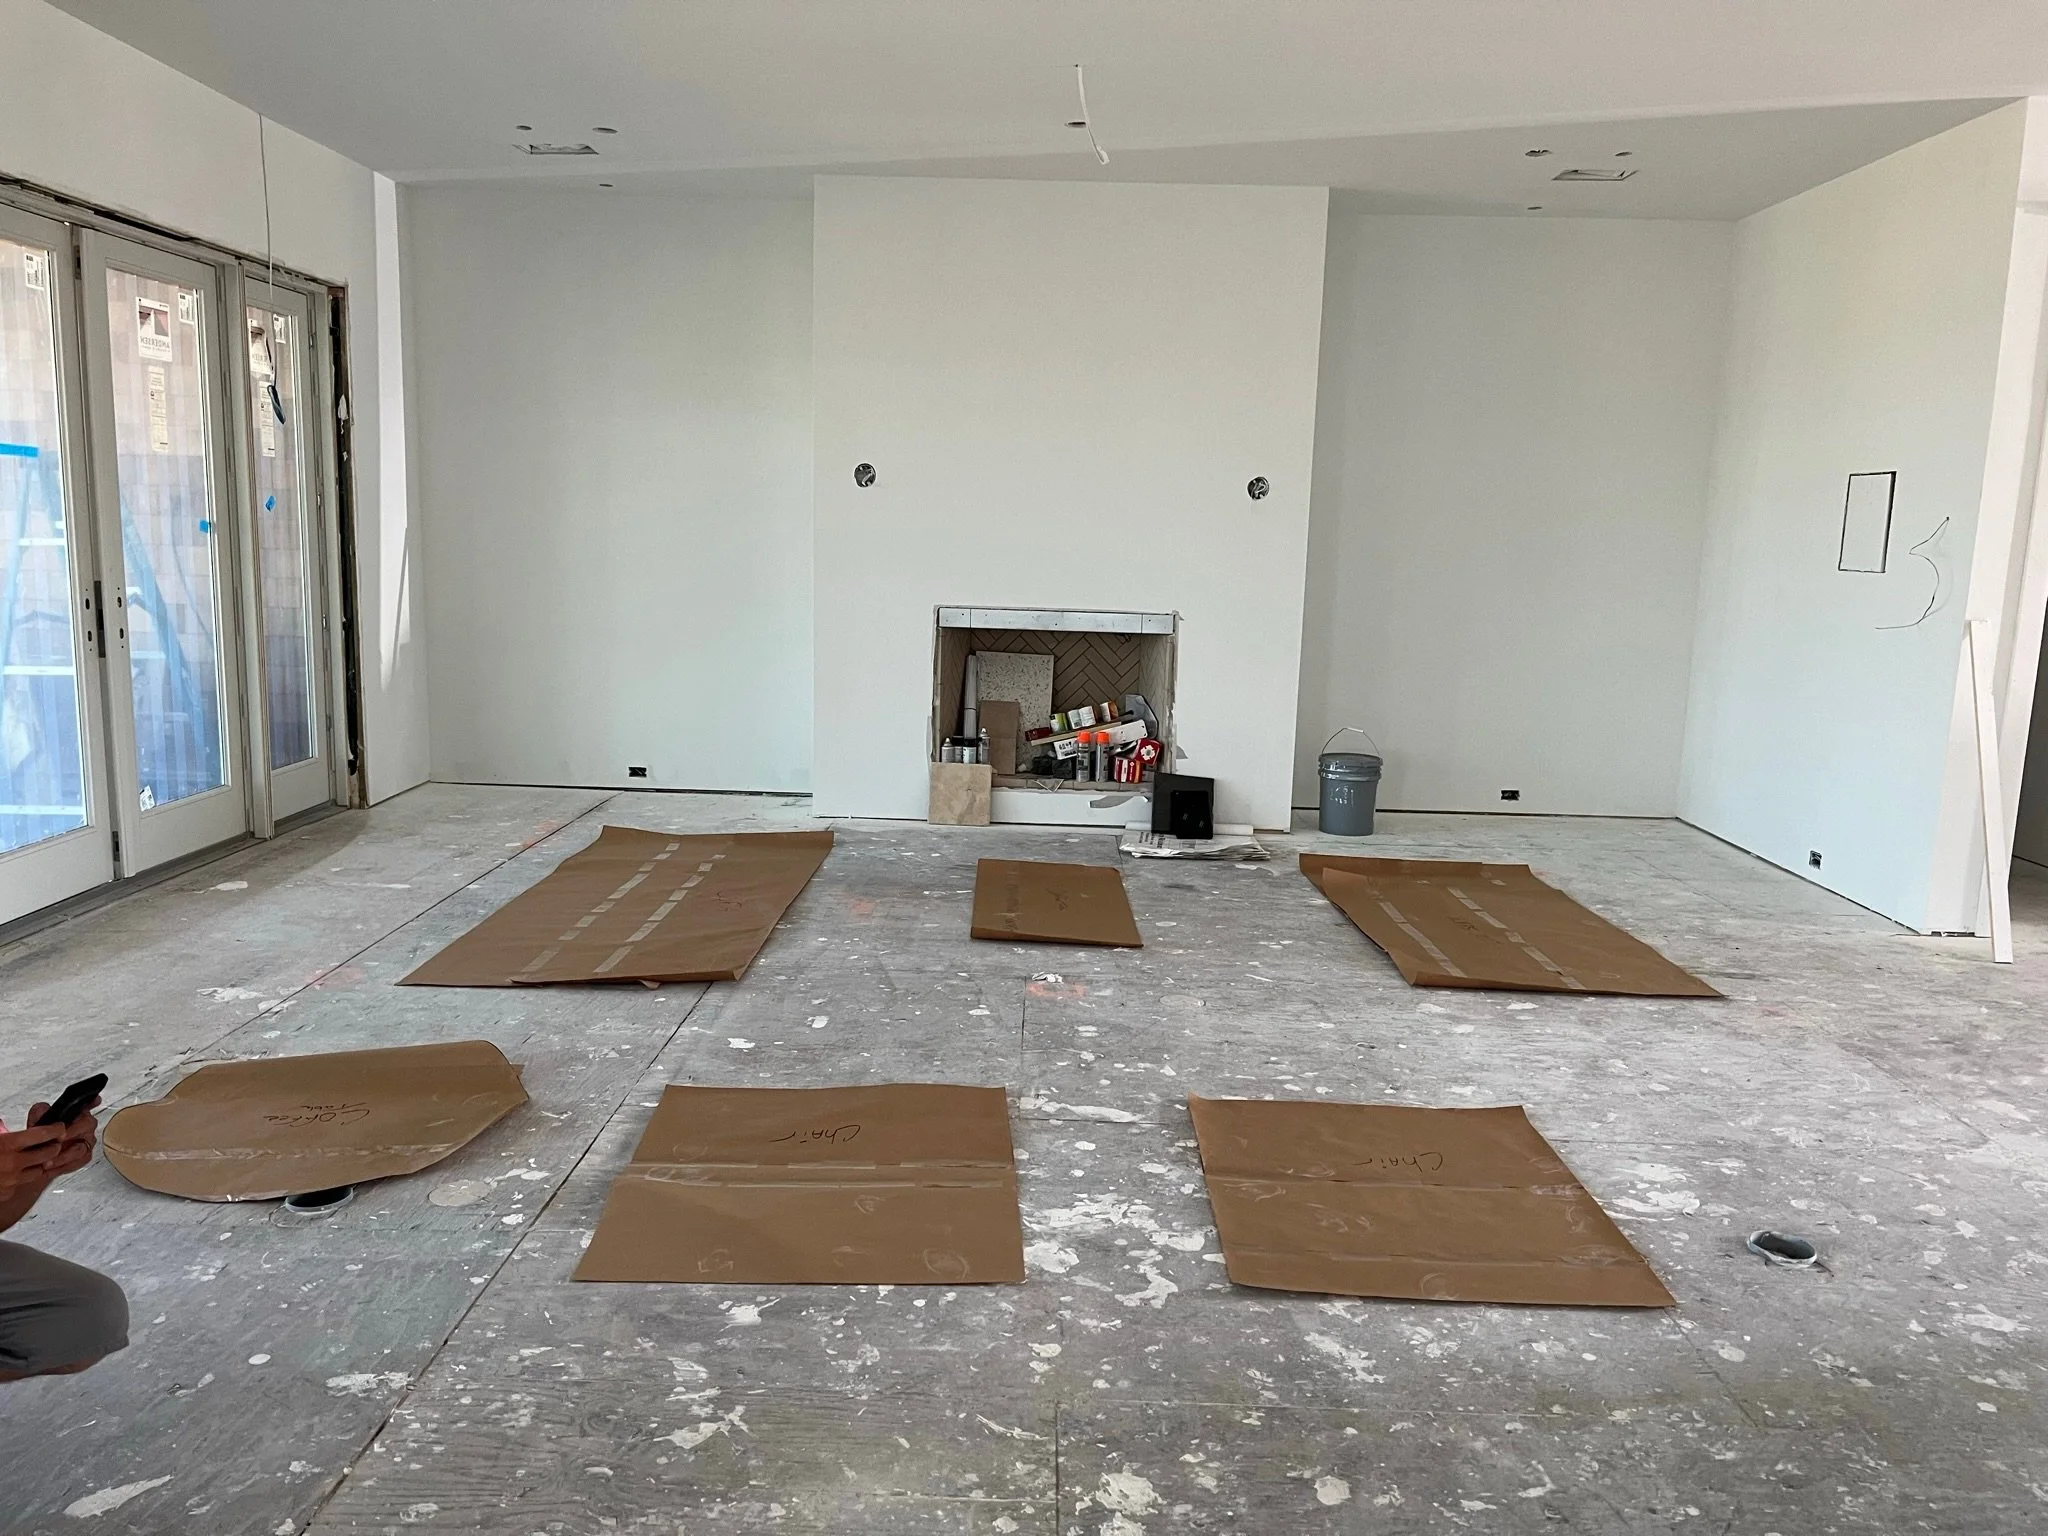
There are endless options for the family room furniture – so here you can enjoy a behind-the-scenes photo of me using cardboard cutouts to envision the furniture layout of the family room! I think 2 sofas, a coffee table and 2 swivel chairs will fit nicely!
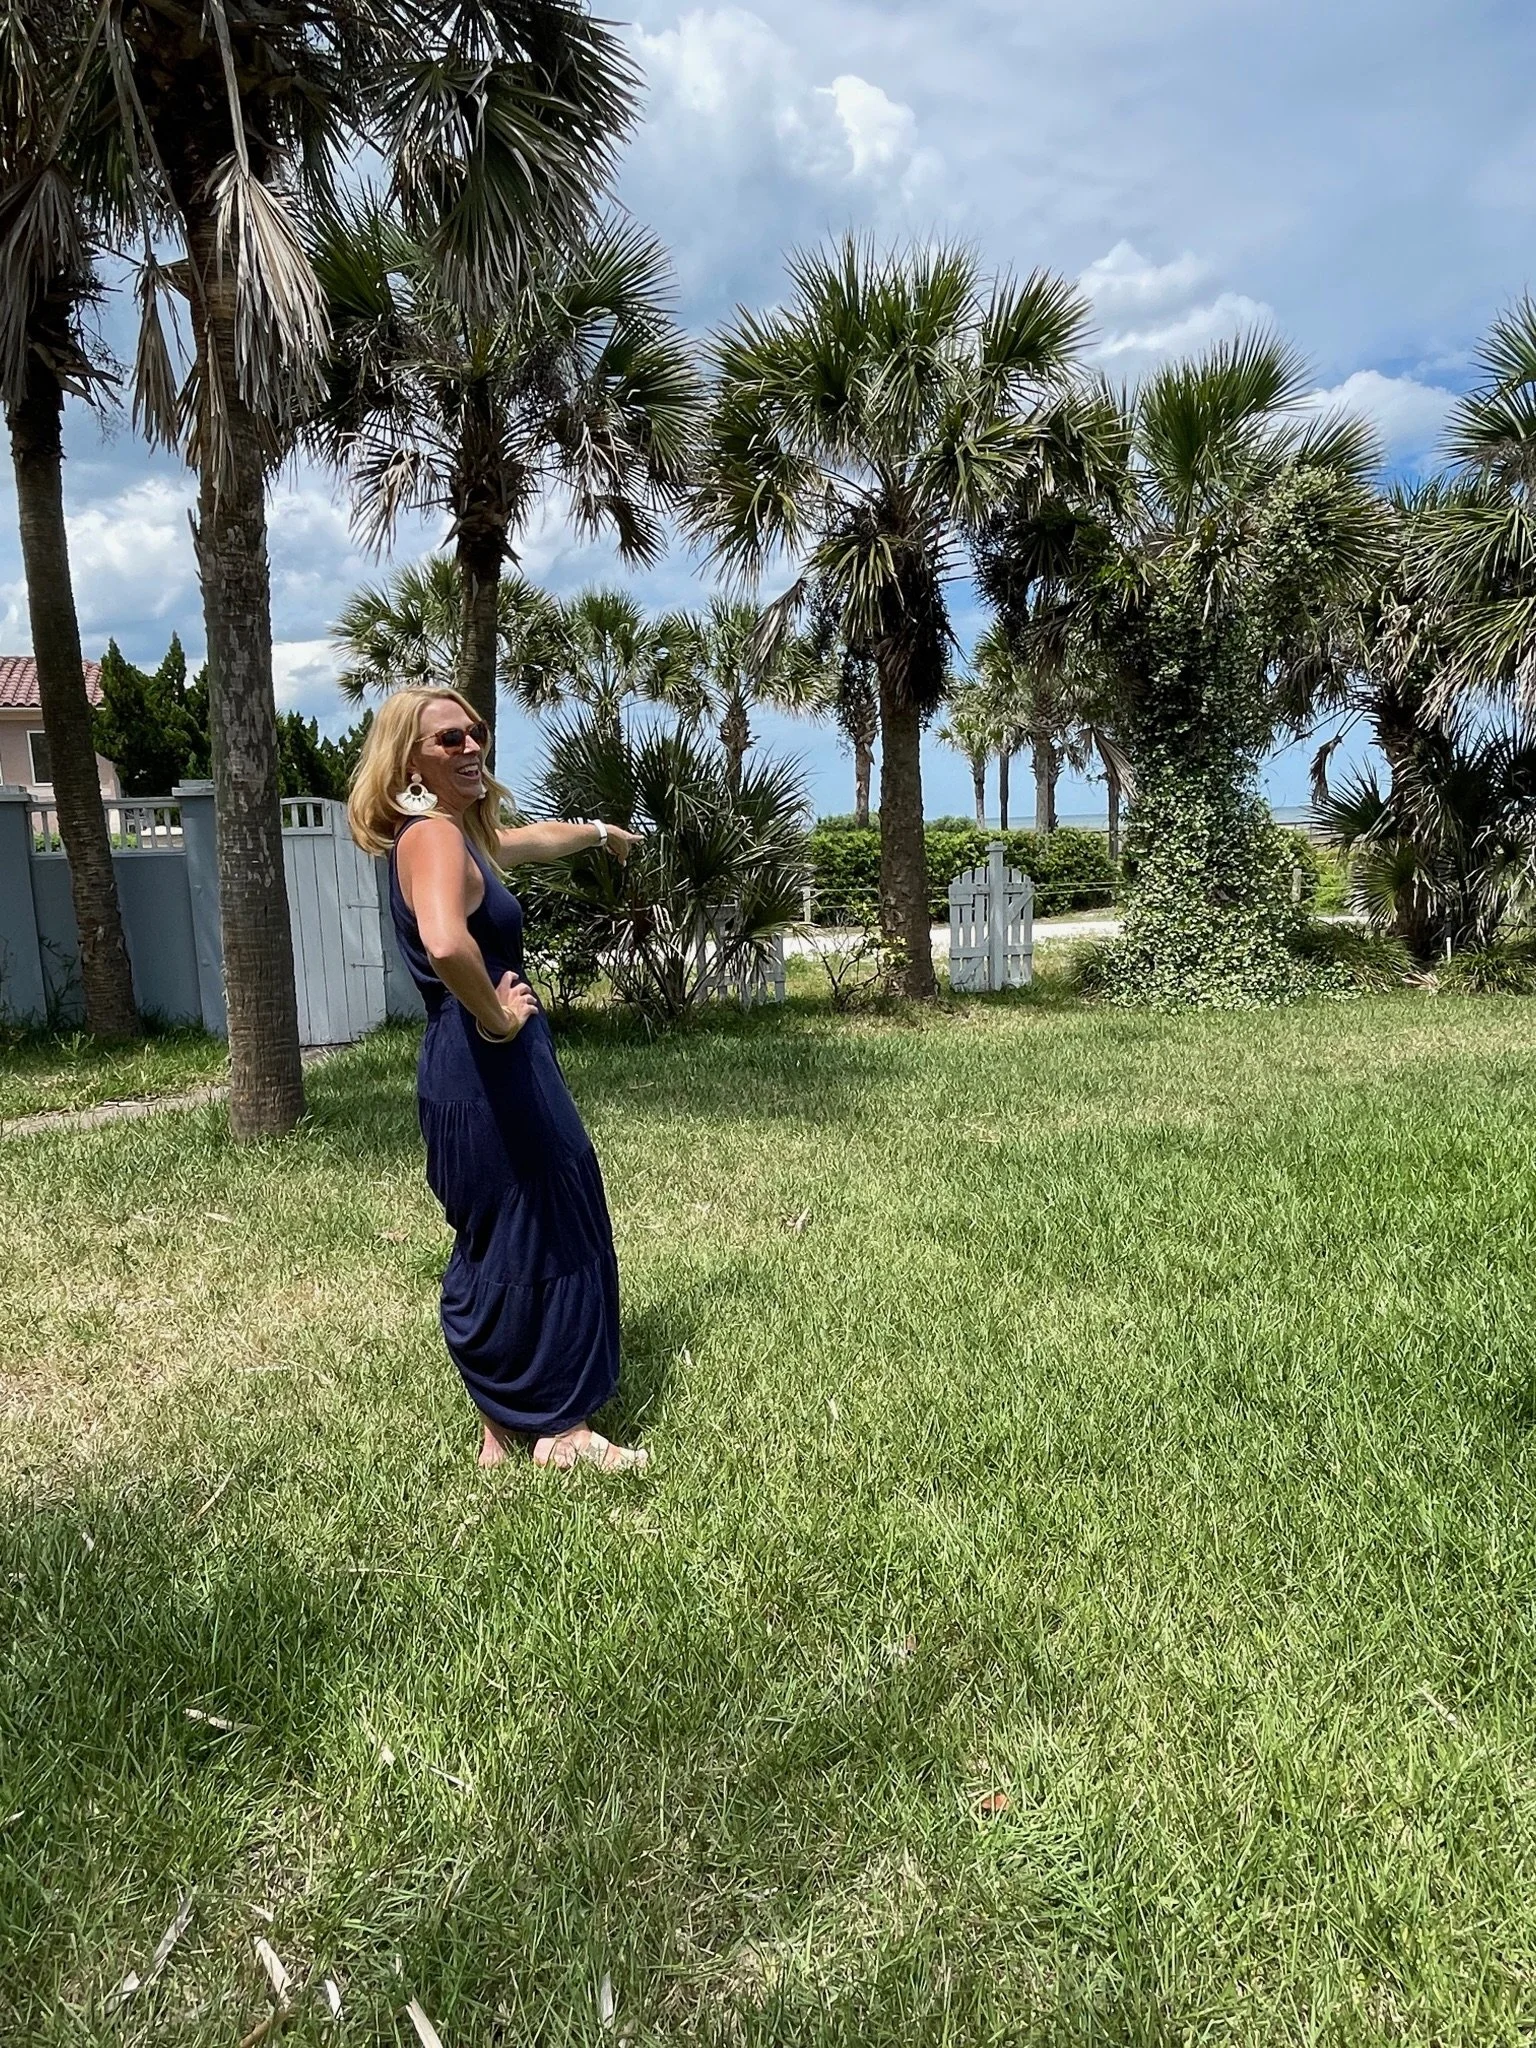
After months of planning, phase 2 of this project is about to begin – and we’re moving outside! This outdoor living project includes the backyard pool, fencing and ALL of the hardscapes! We have a blank canvas and a lot of dreams, but will be limited on what we can do by the DEP (Department of Environmental Protection) since the back yard sits on the Coastal Construction Line.
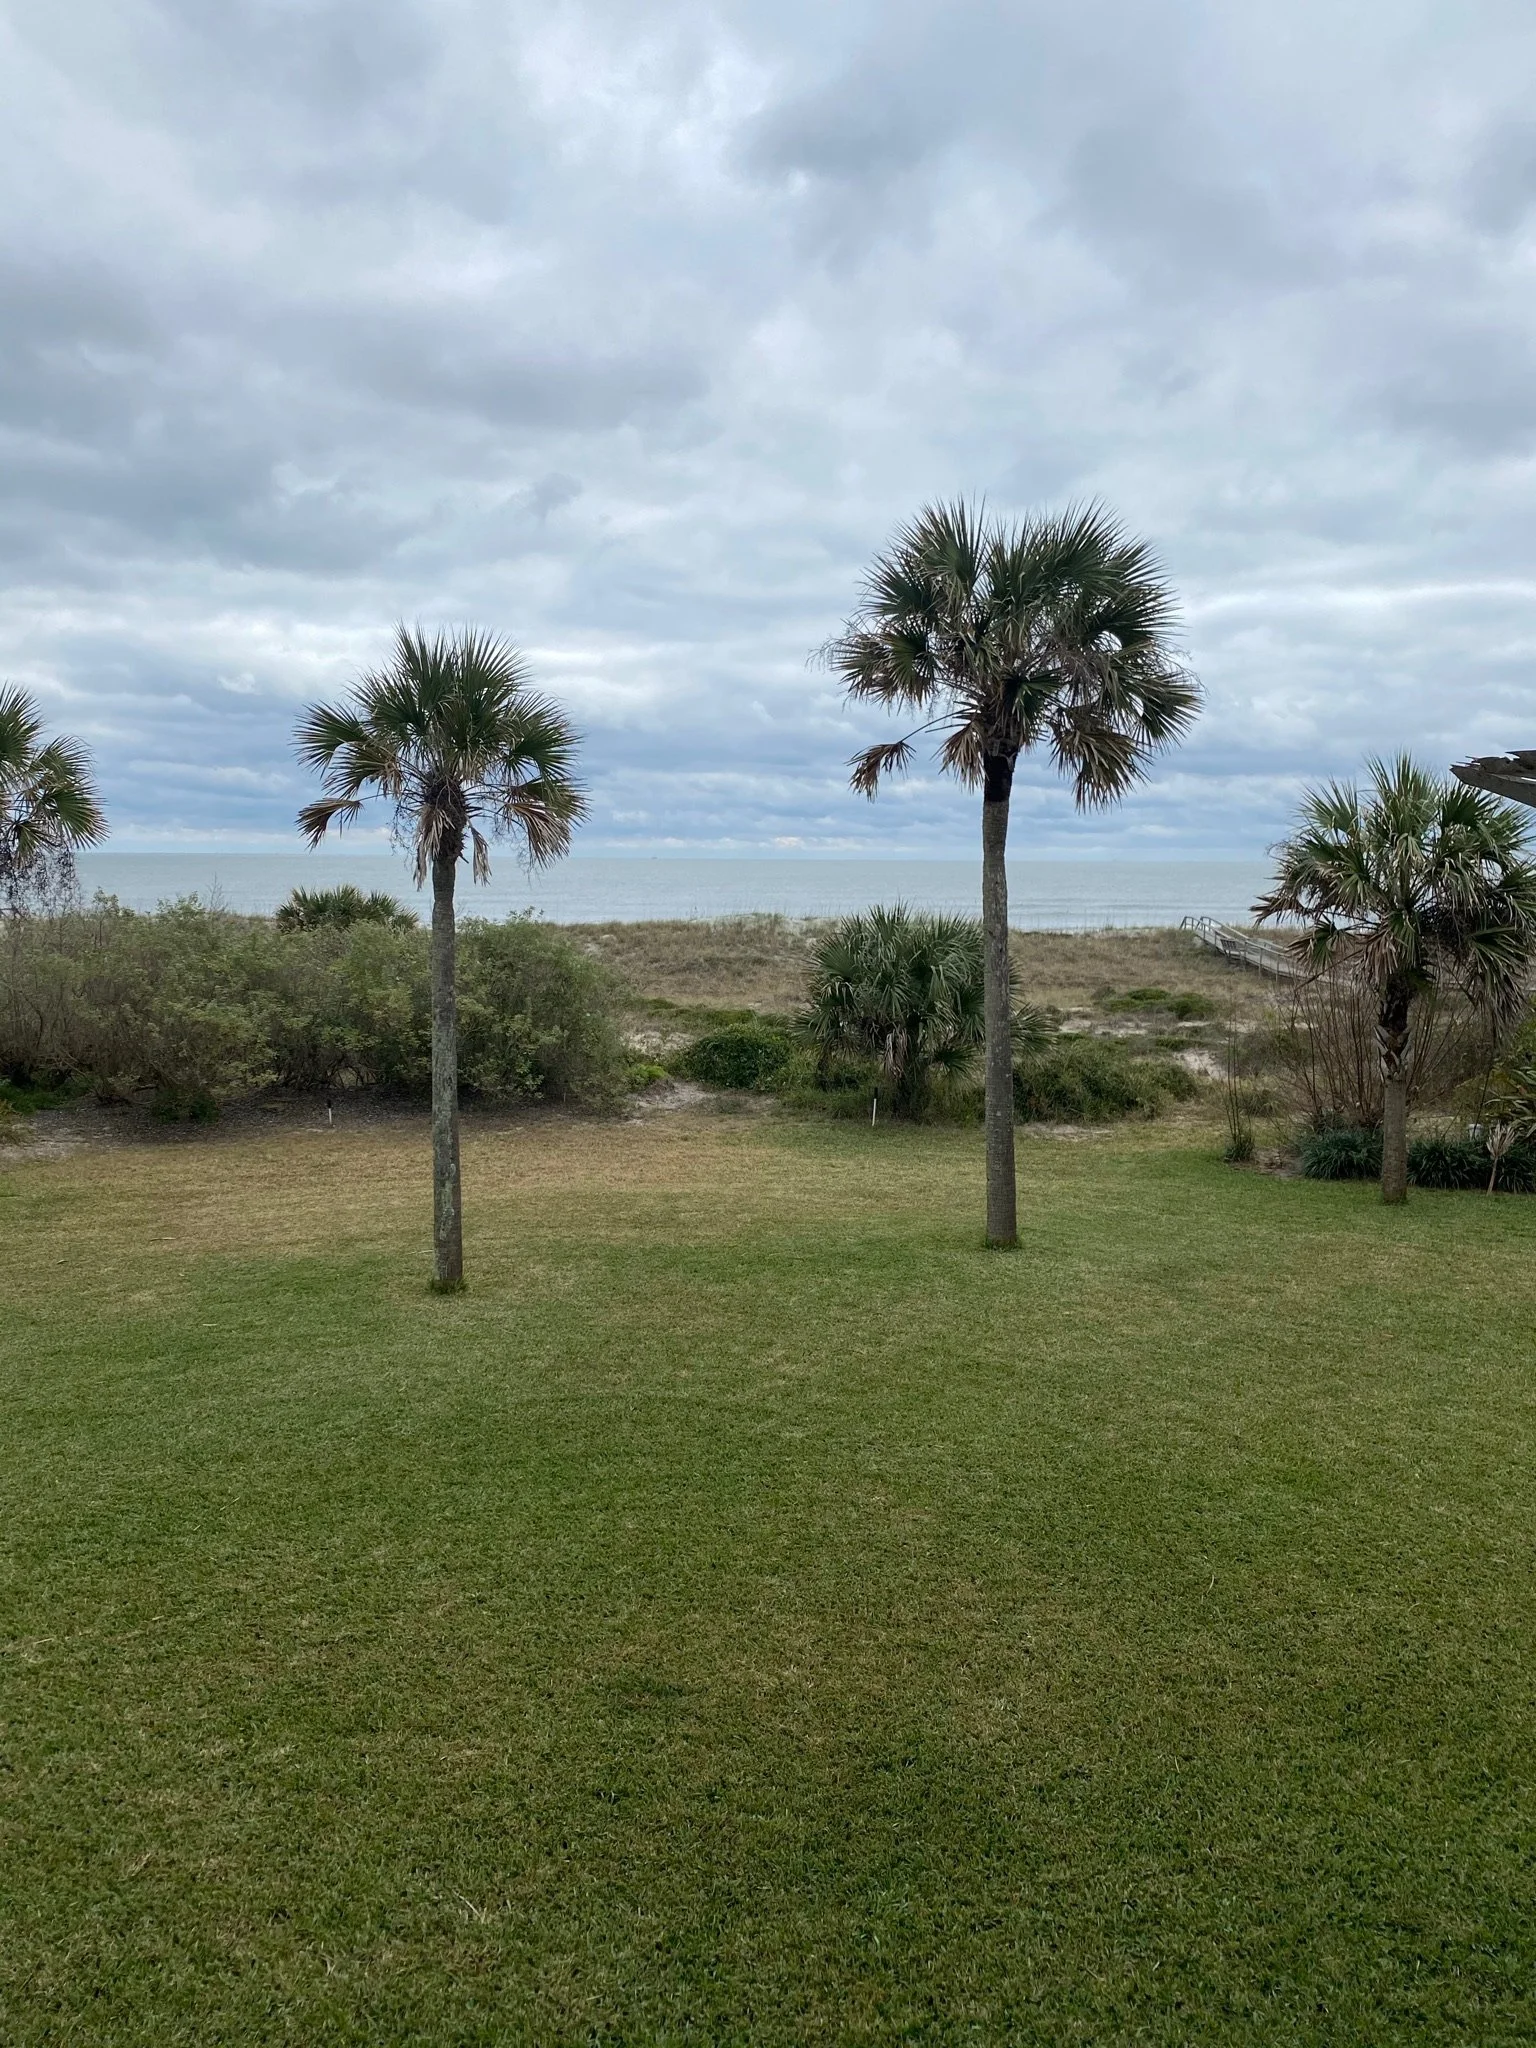
A moment for the view! This is the backyard and view of the ocean before we started construction. At this point, I am envisioning a rectangle shaped pool, with stone decking and maybe even steps down to a fire pit area. One big decision we faced here, is whether to raise the pool to the level of the back porch or do steps down to the pool area. We knew our family will need a big enough pool deck to have a large table and a few lounge chairs, but beyond that was still a question mark.
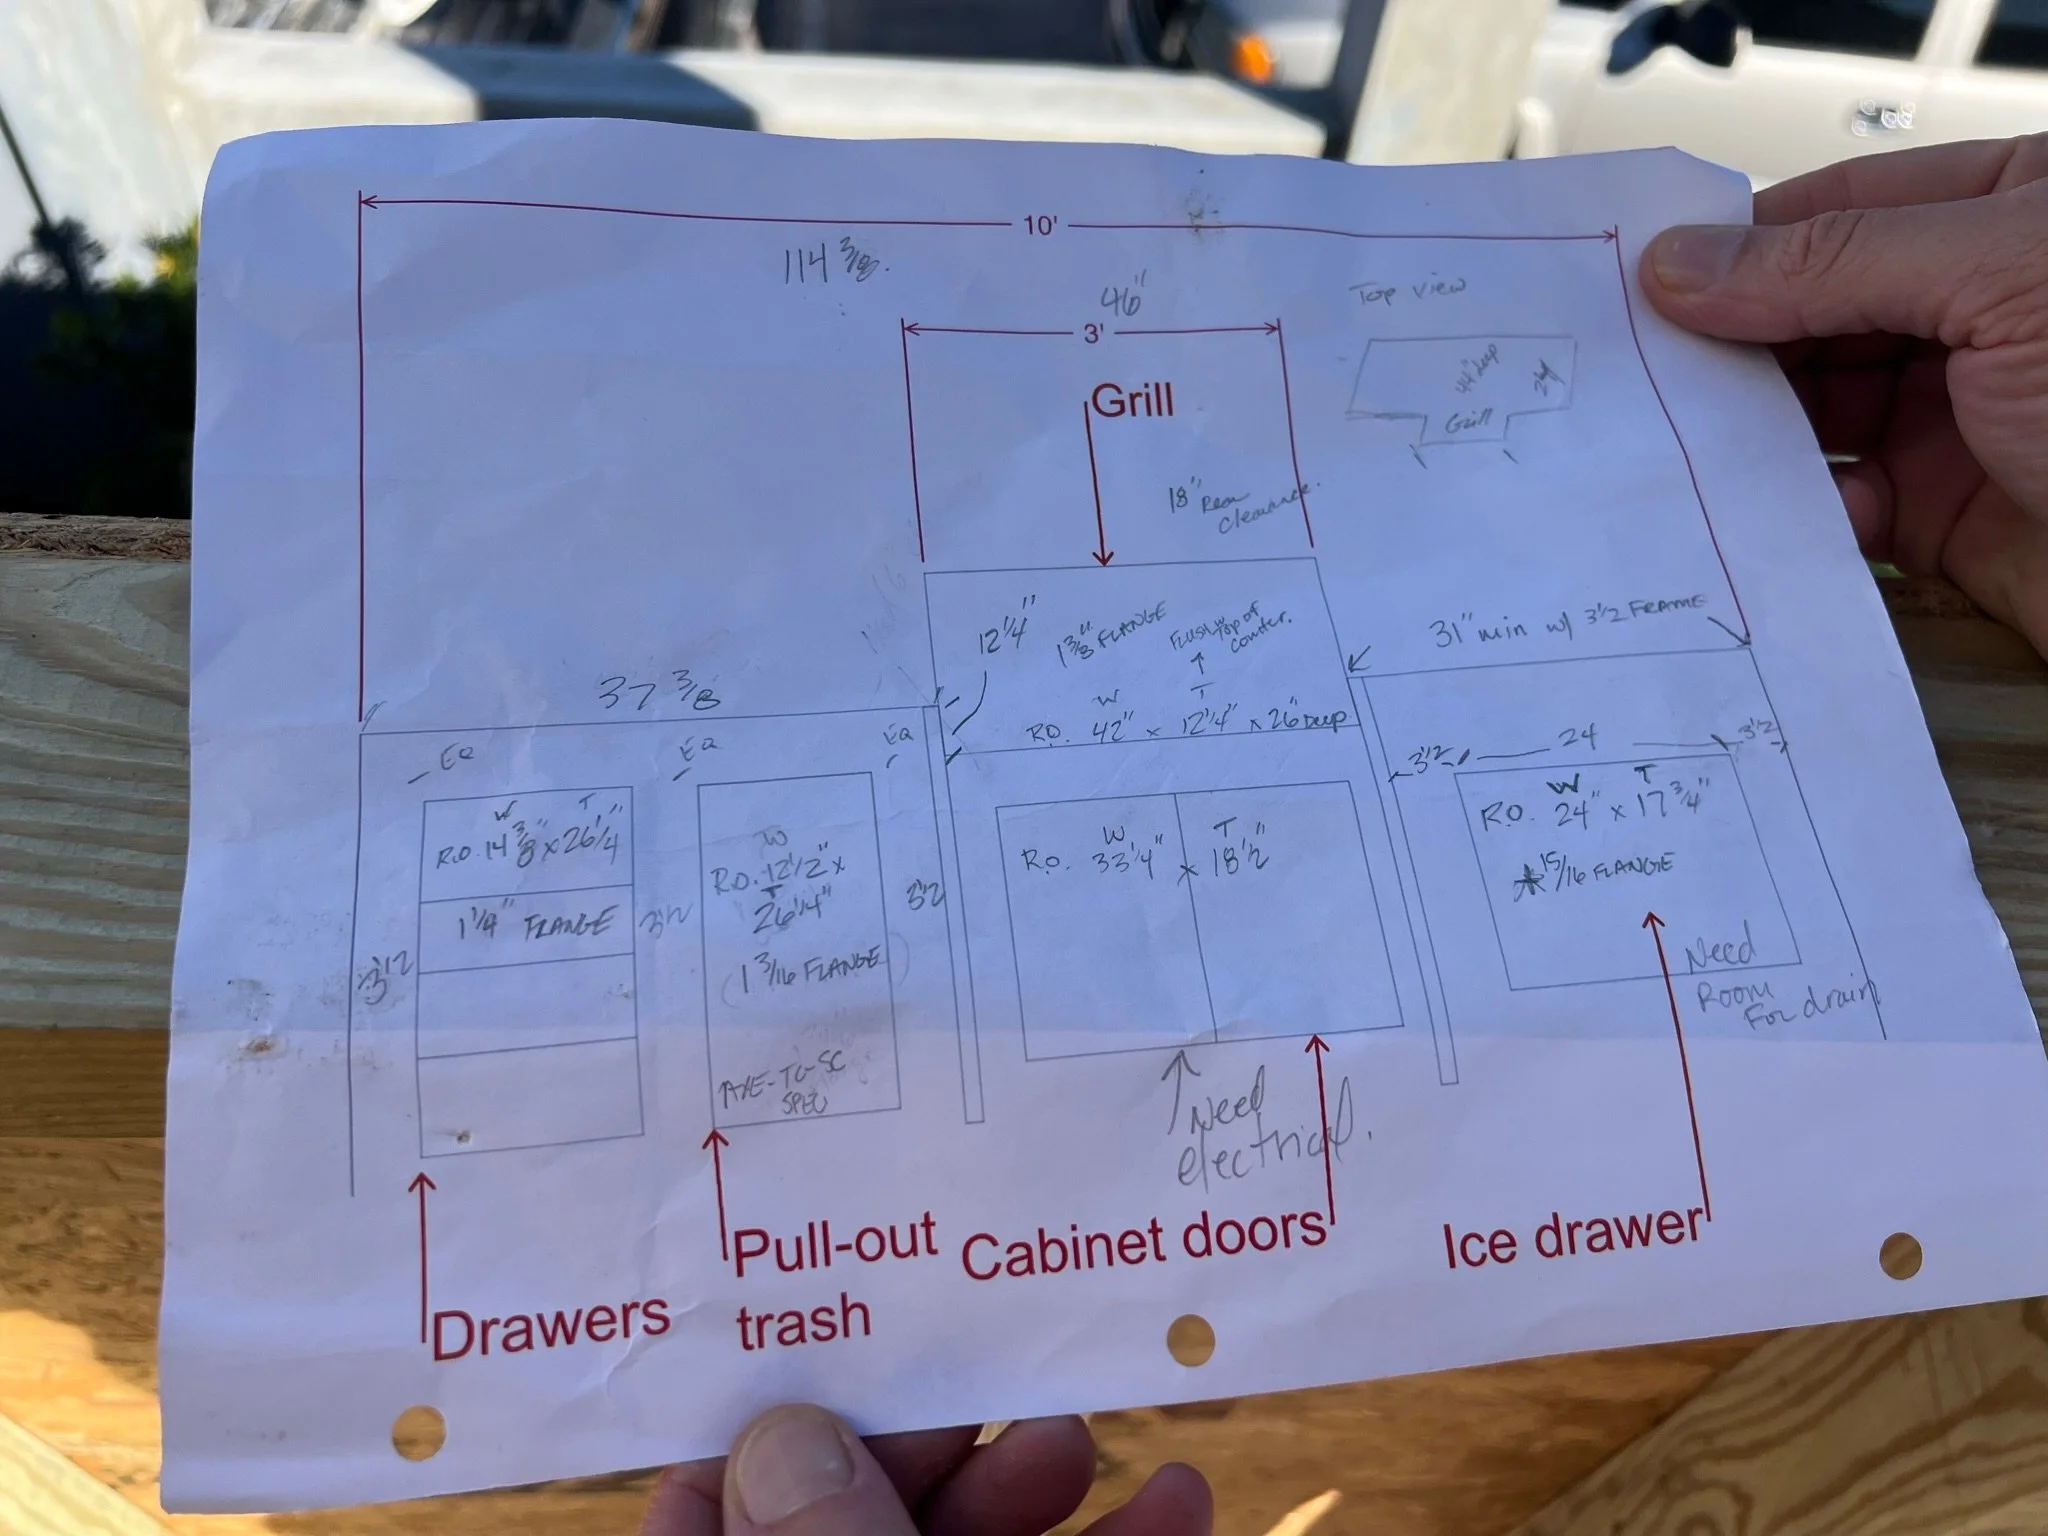
This was my initial rough drawing of the outdoor kitchen layout on the back deck. When installing all of these components onsite, it’s critical to double check these measurements and exact spacing details. I purchased stainless steel drawer units that will slide into the structure made of Ipe Brazilian Hardwood and topped with a limestone countertop.
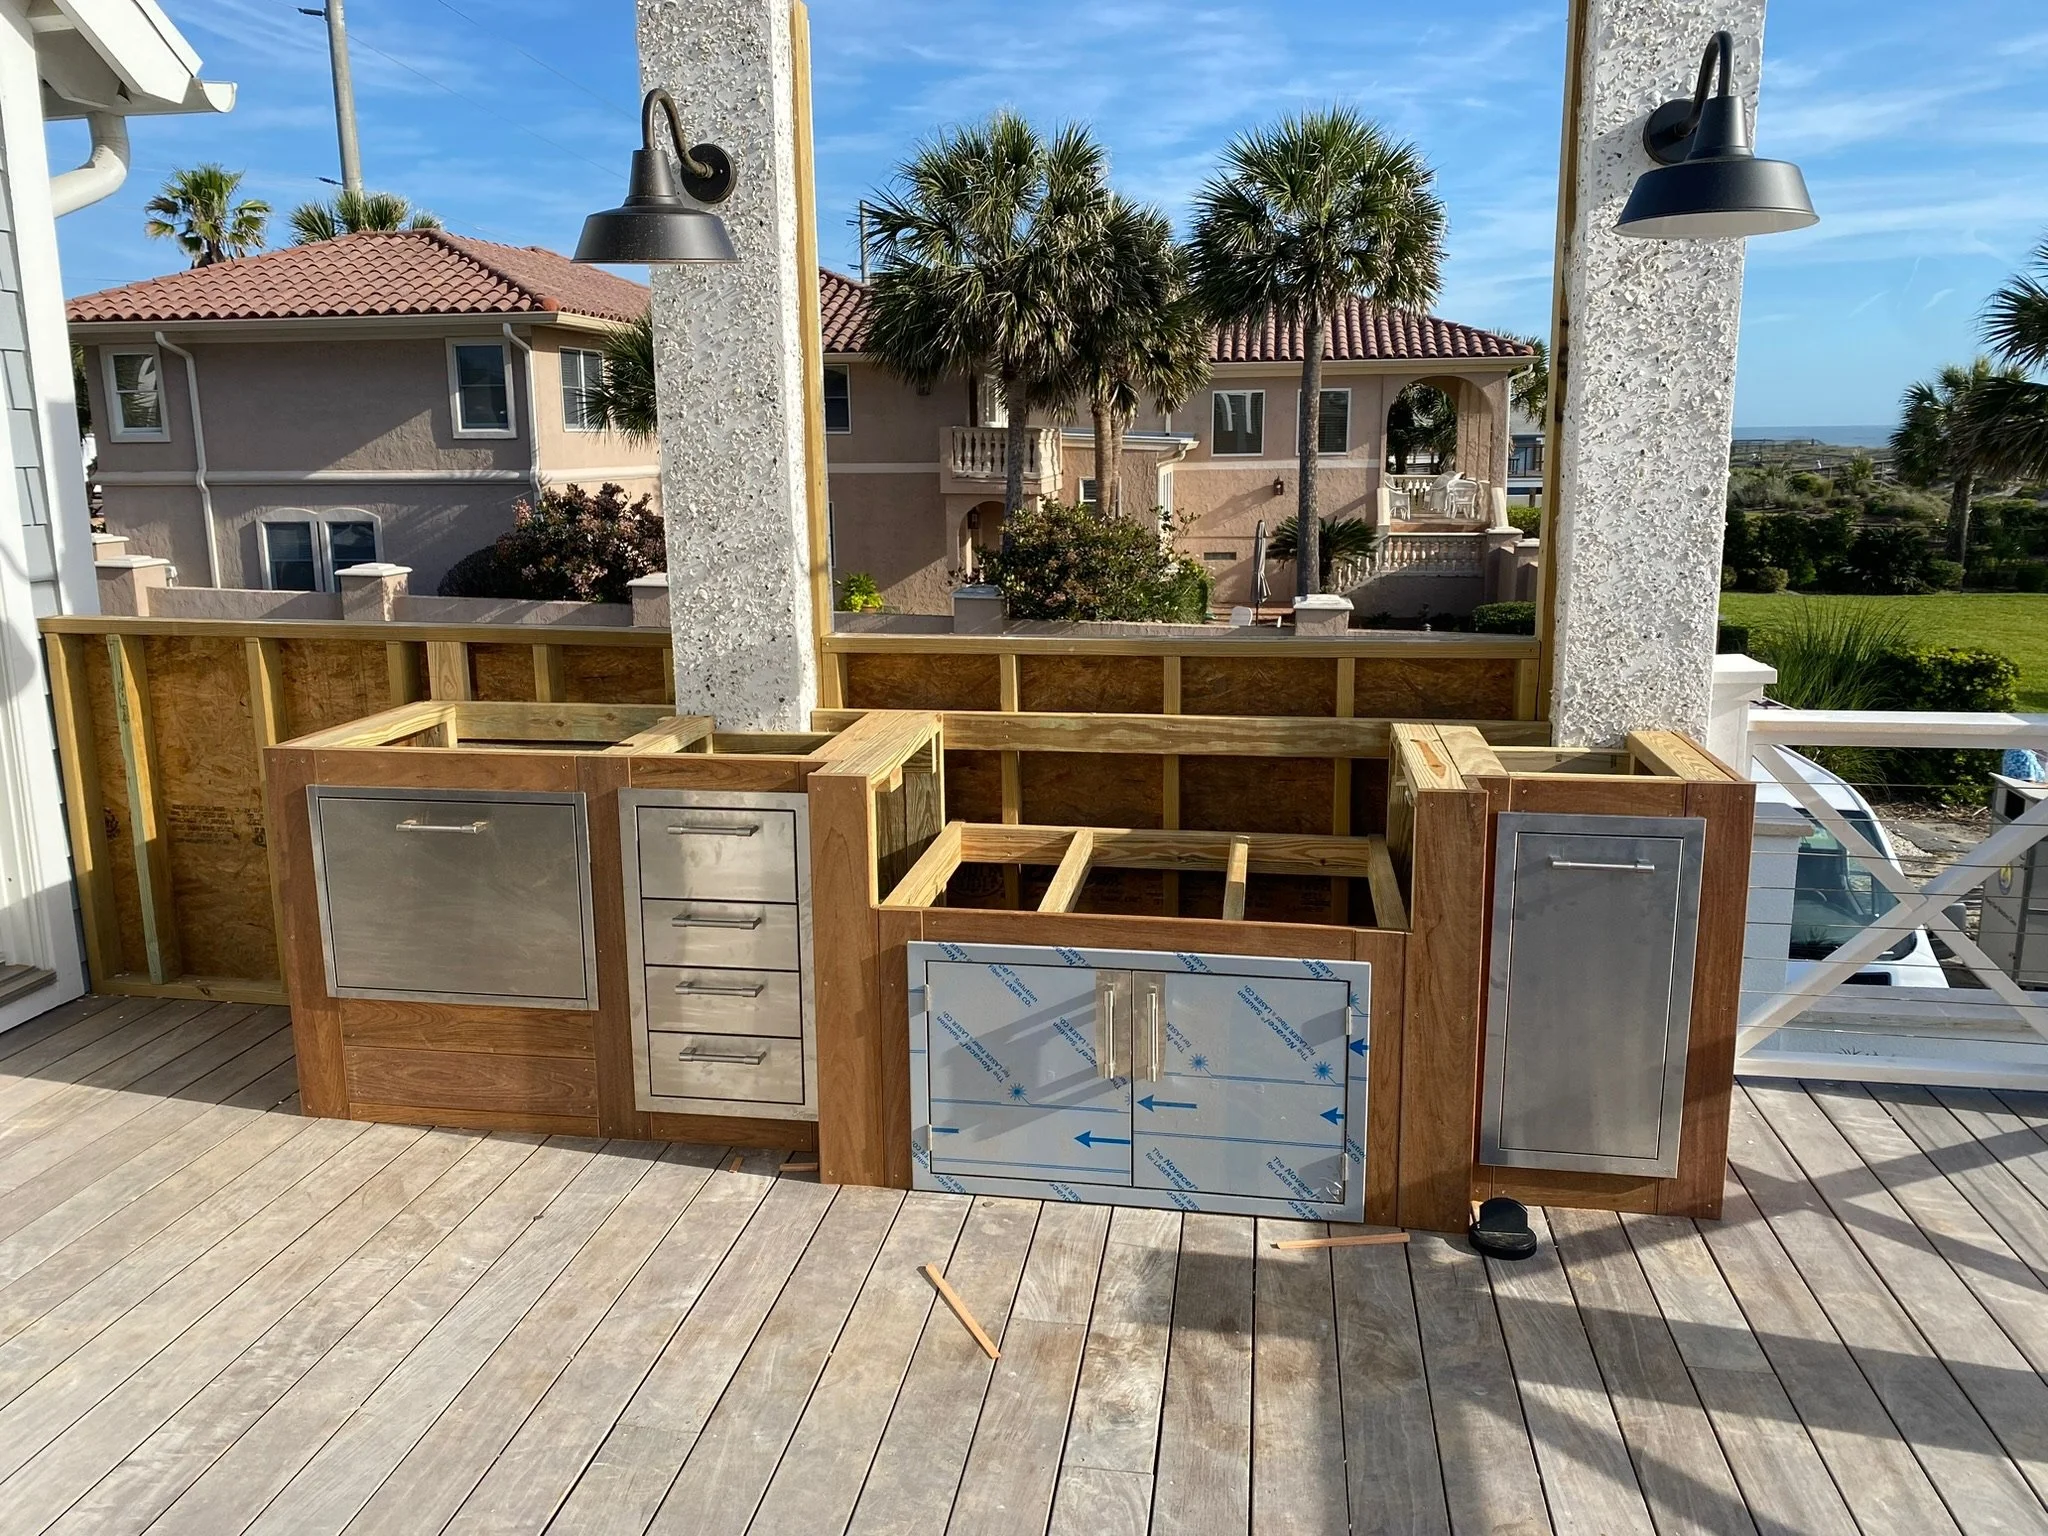
And here is the grill area starting to take shape! We wanted this space to prioritize function for our family, so we made a few adjustments on site like switching the location of the trash pull-out and ice drawer for easier access from the house. We also made the decision to add a privacy screen above the grill area soon!
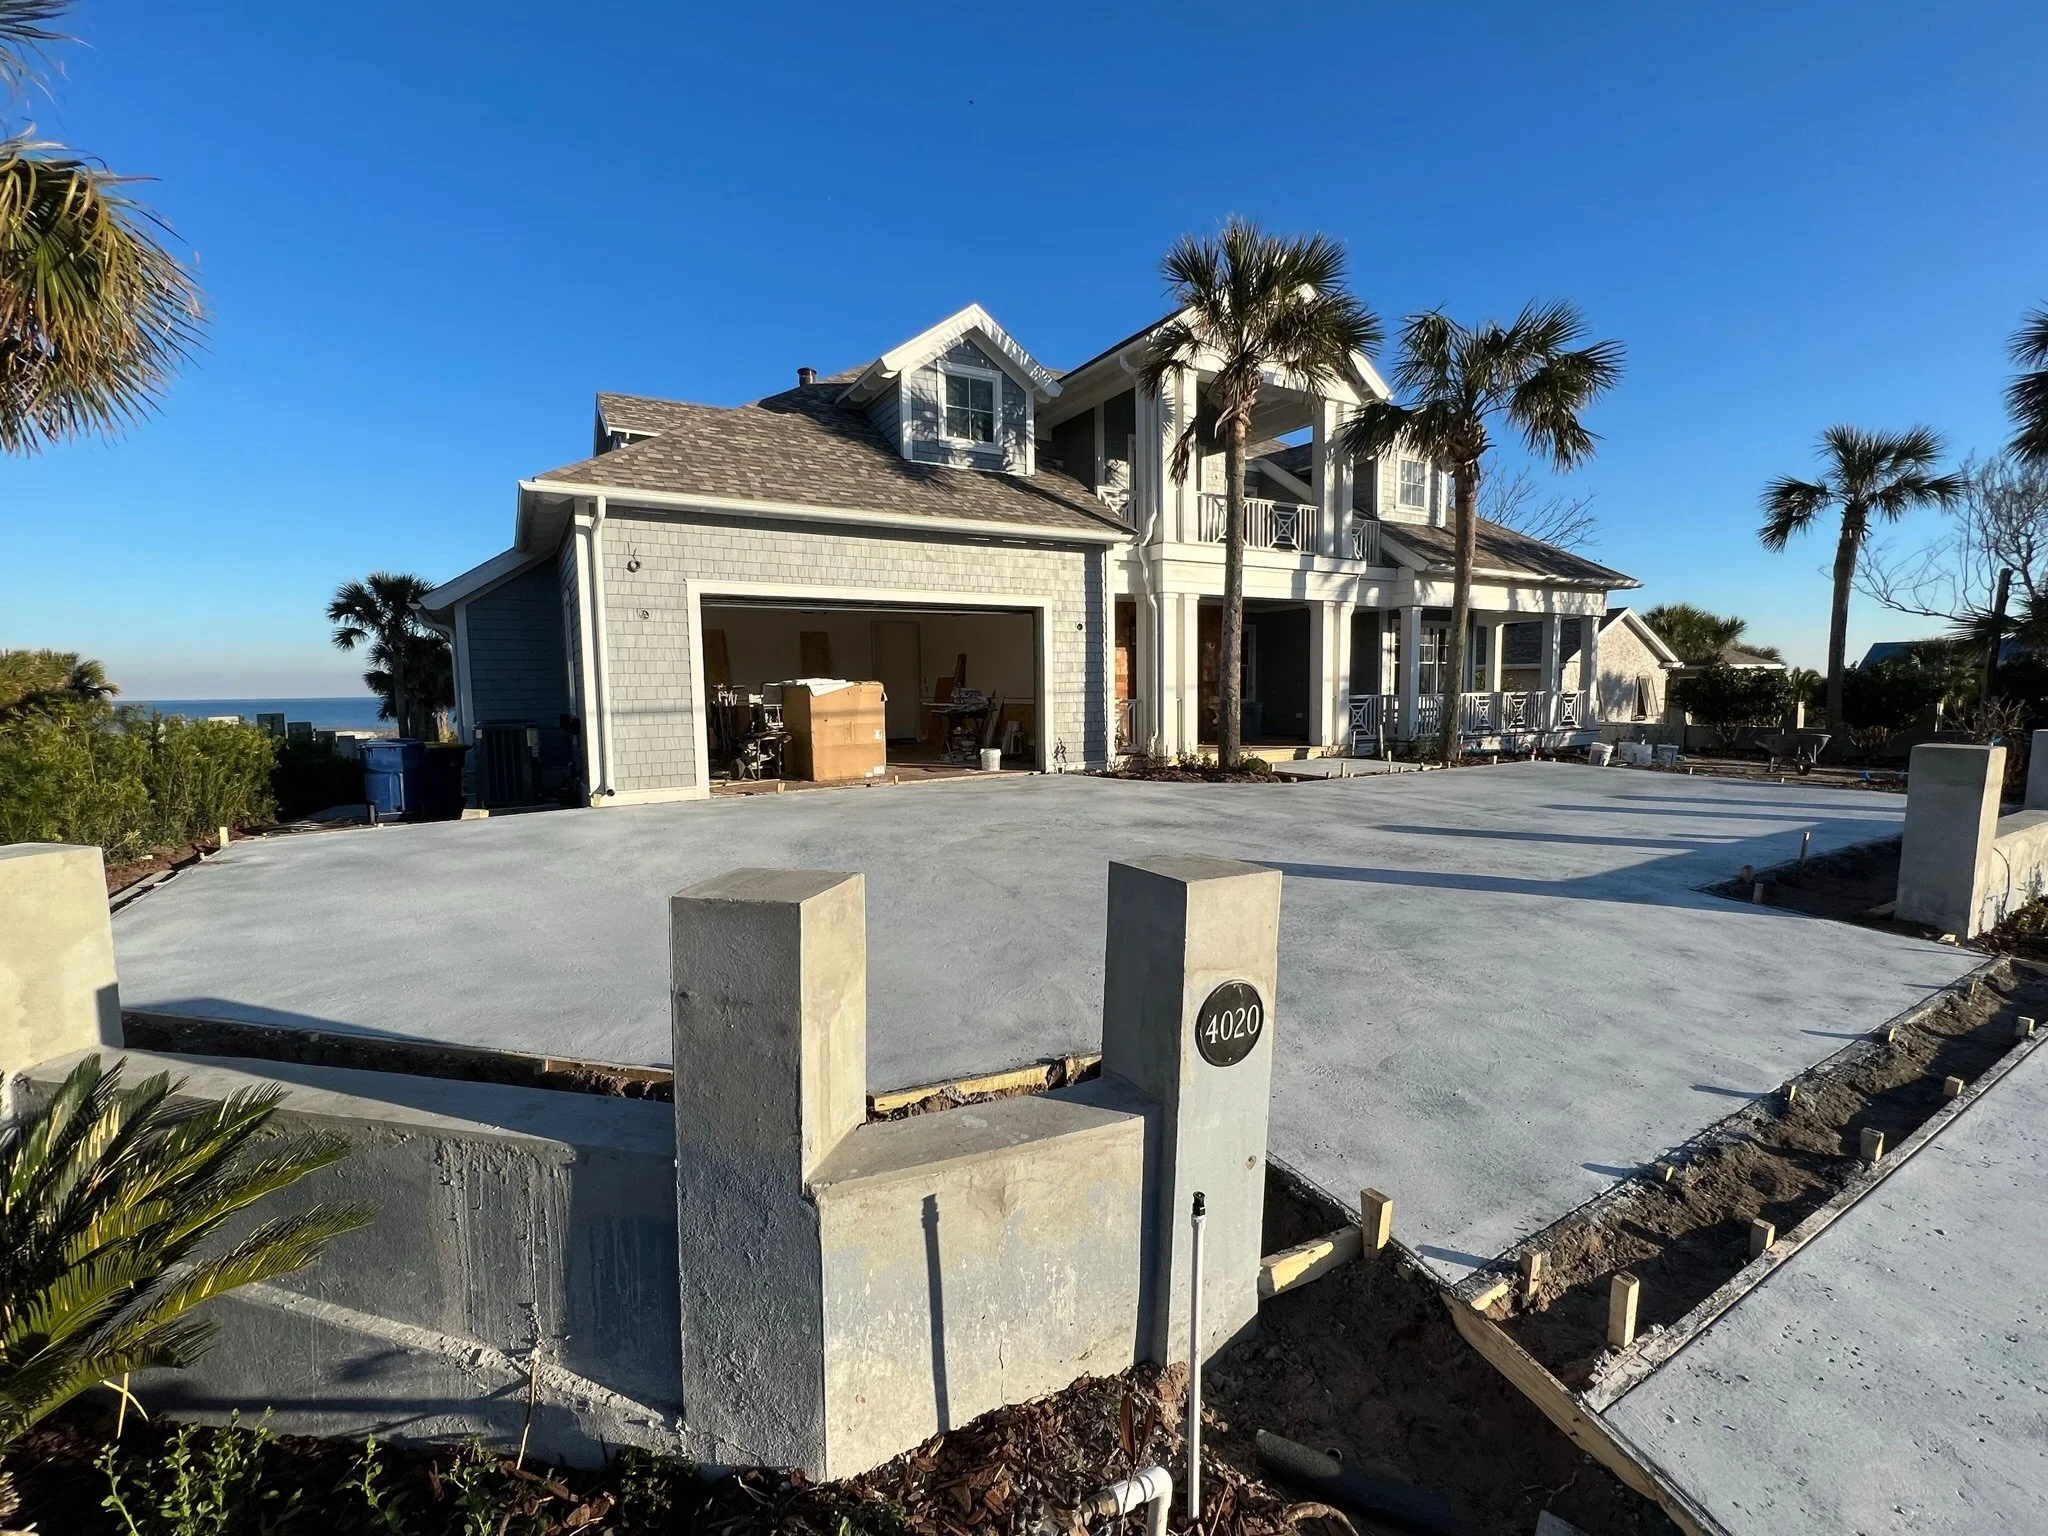
It’s a BIG day! The driveway was poured and I am so thankful to have this done! To make the driveway complete, I chose concrete pavers to add a border. We did a composite finish on the driveway that will have shells mixed in. I can’t wait to see this completed!
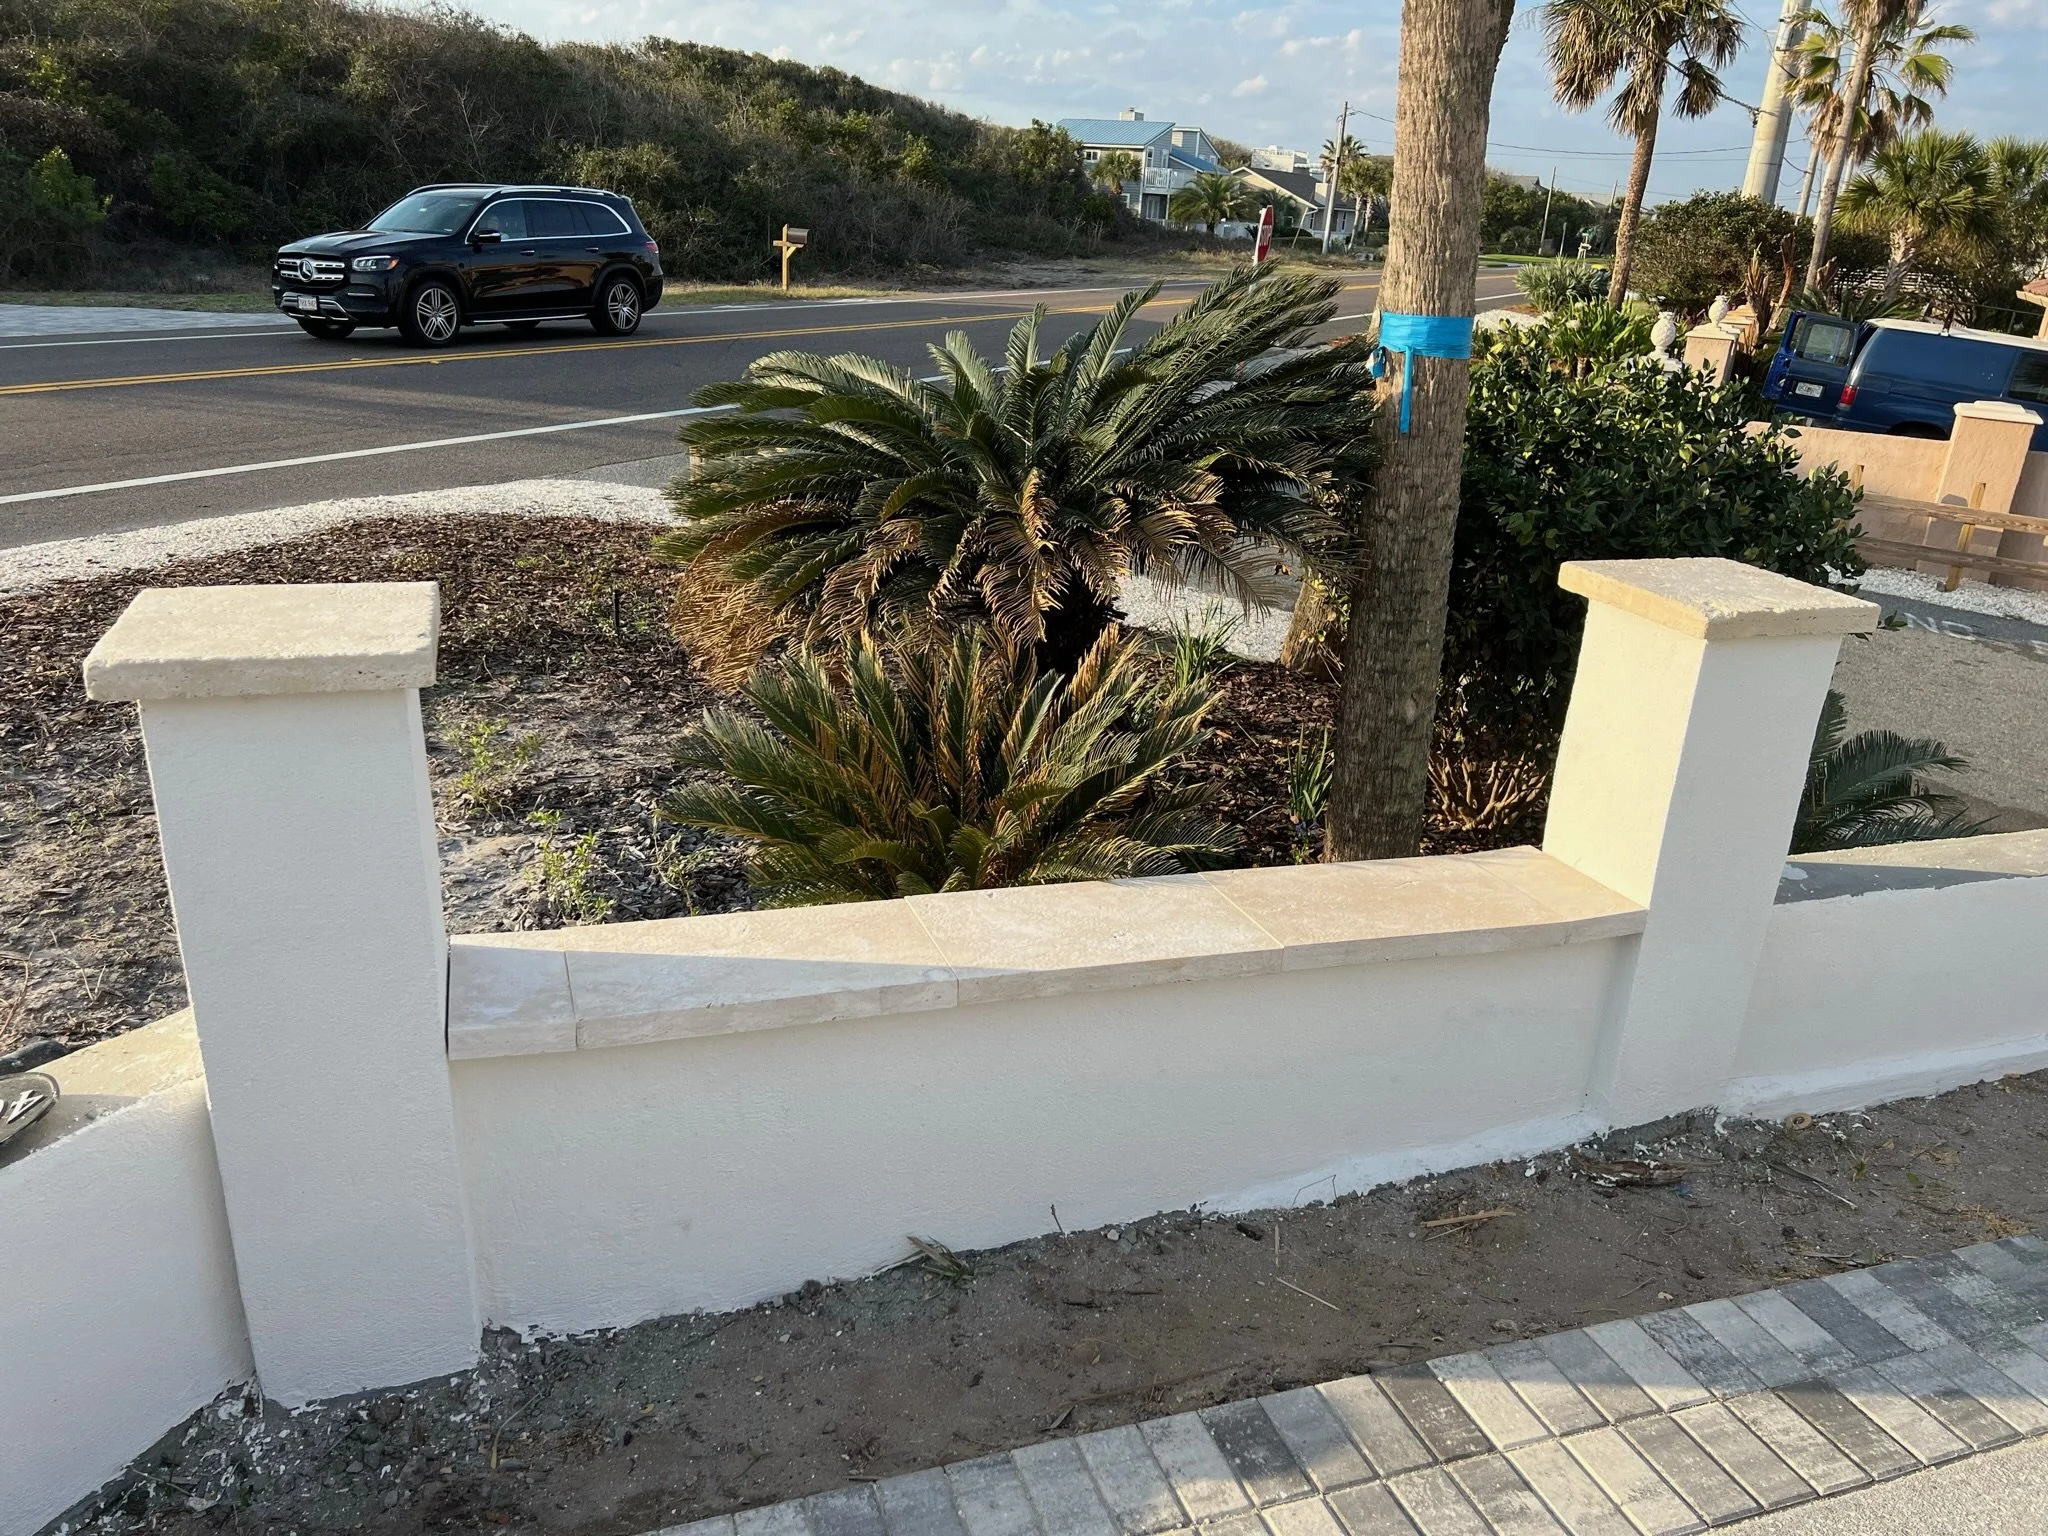
Next up…Painting the stucco walls and adding a travertine wall cap – I love the way this turned out! You can also see the double concrete paver banding with the coquina-inspired shell driveway. These finishes really elevate our curb appeal and are the perfect complement to the exterior of the home. One additional element that took the space to the next level was our custom fencing. We worked with an iron fence company to fabricate a unit railing for our home. It was hard to contain my excitement as they brought over the final sample!
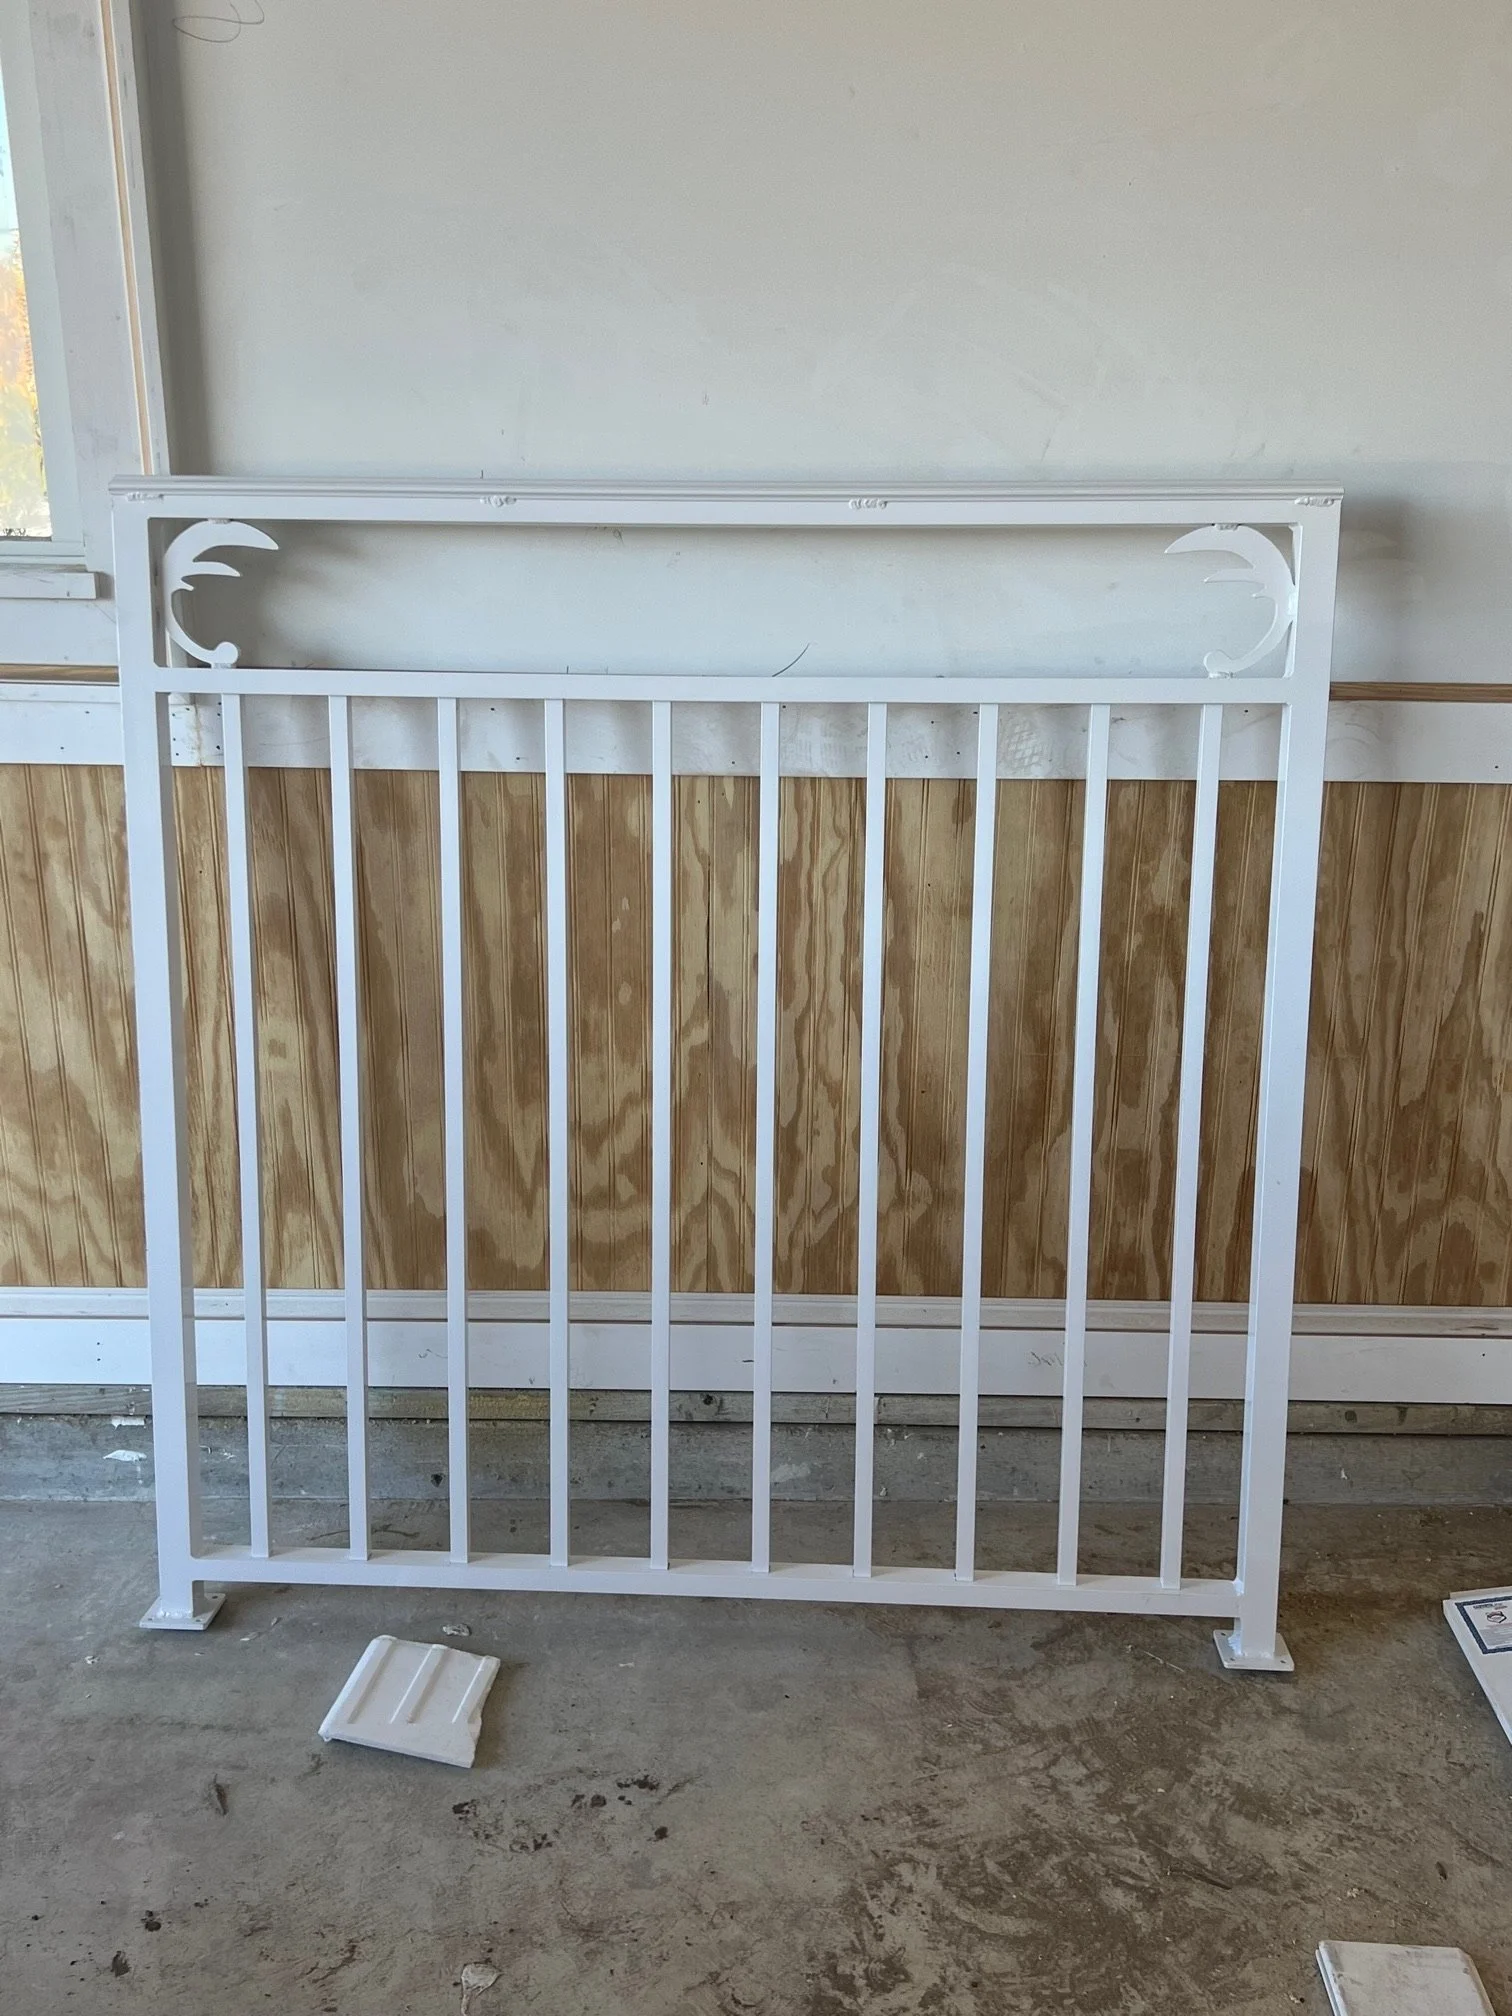
Here it is! The goal was to create a unique design that resembled a palm leaf to be incorporated into the railing – and they exceed my expectations! This will be the railing around all the property. One unique element of the railing that I decided to go with is a white finish versus the common black railing finish. It just feels more fitting for this house!
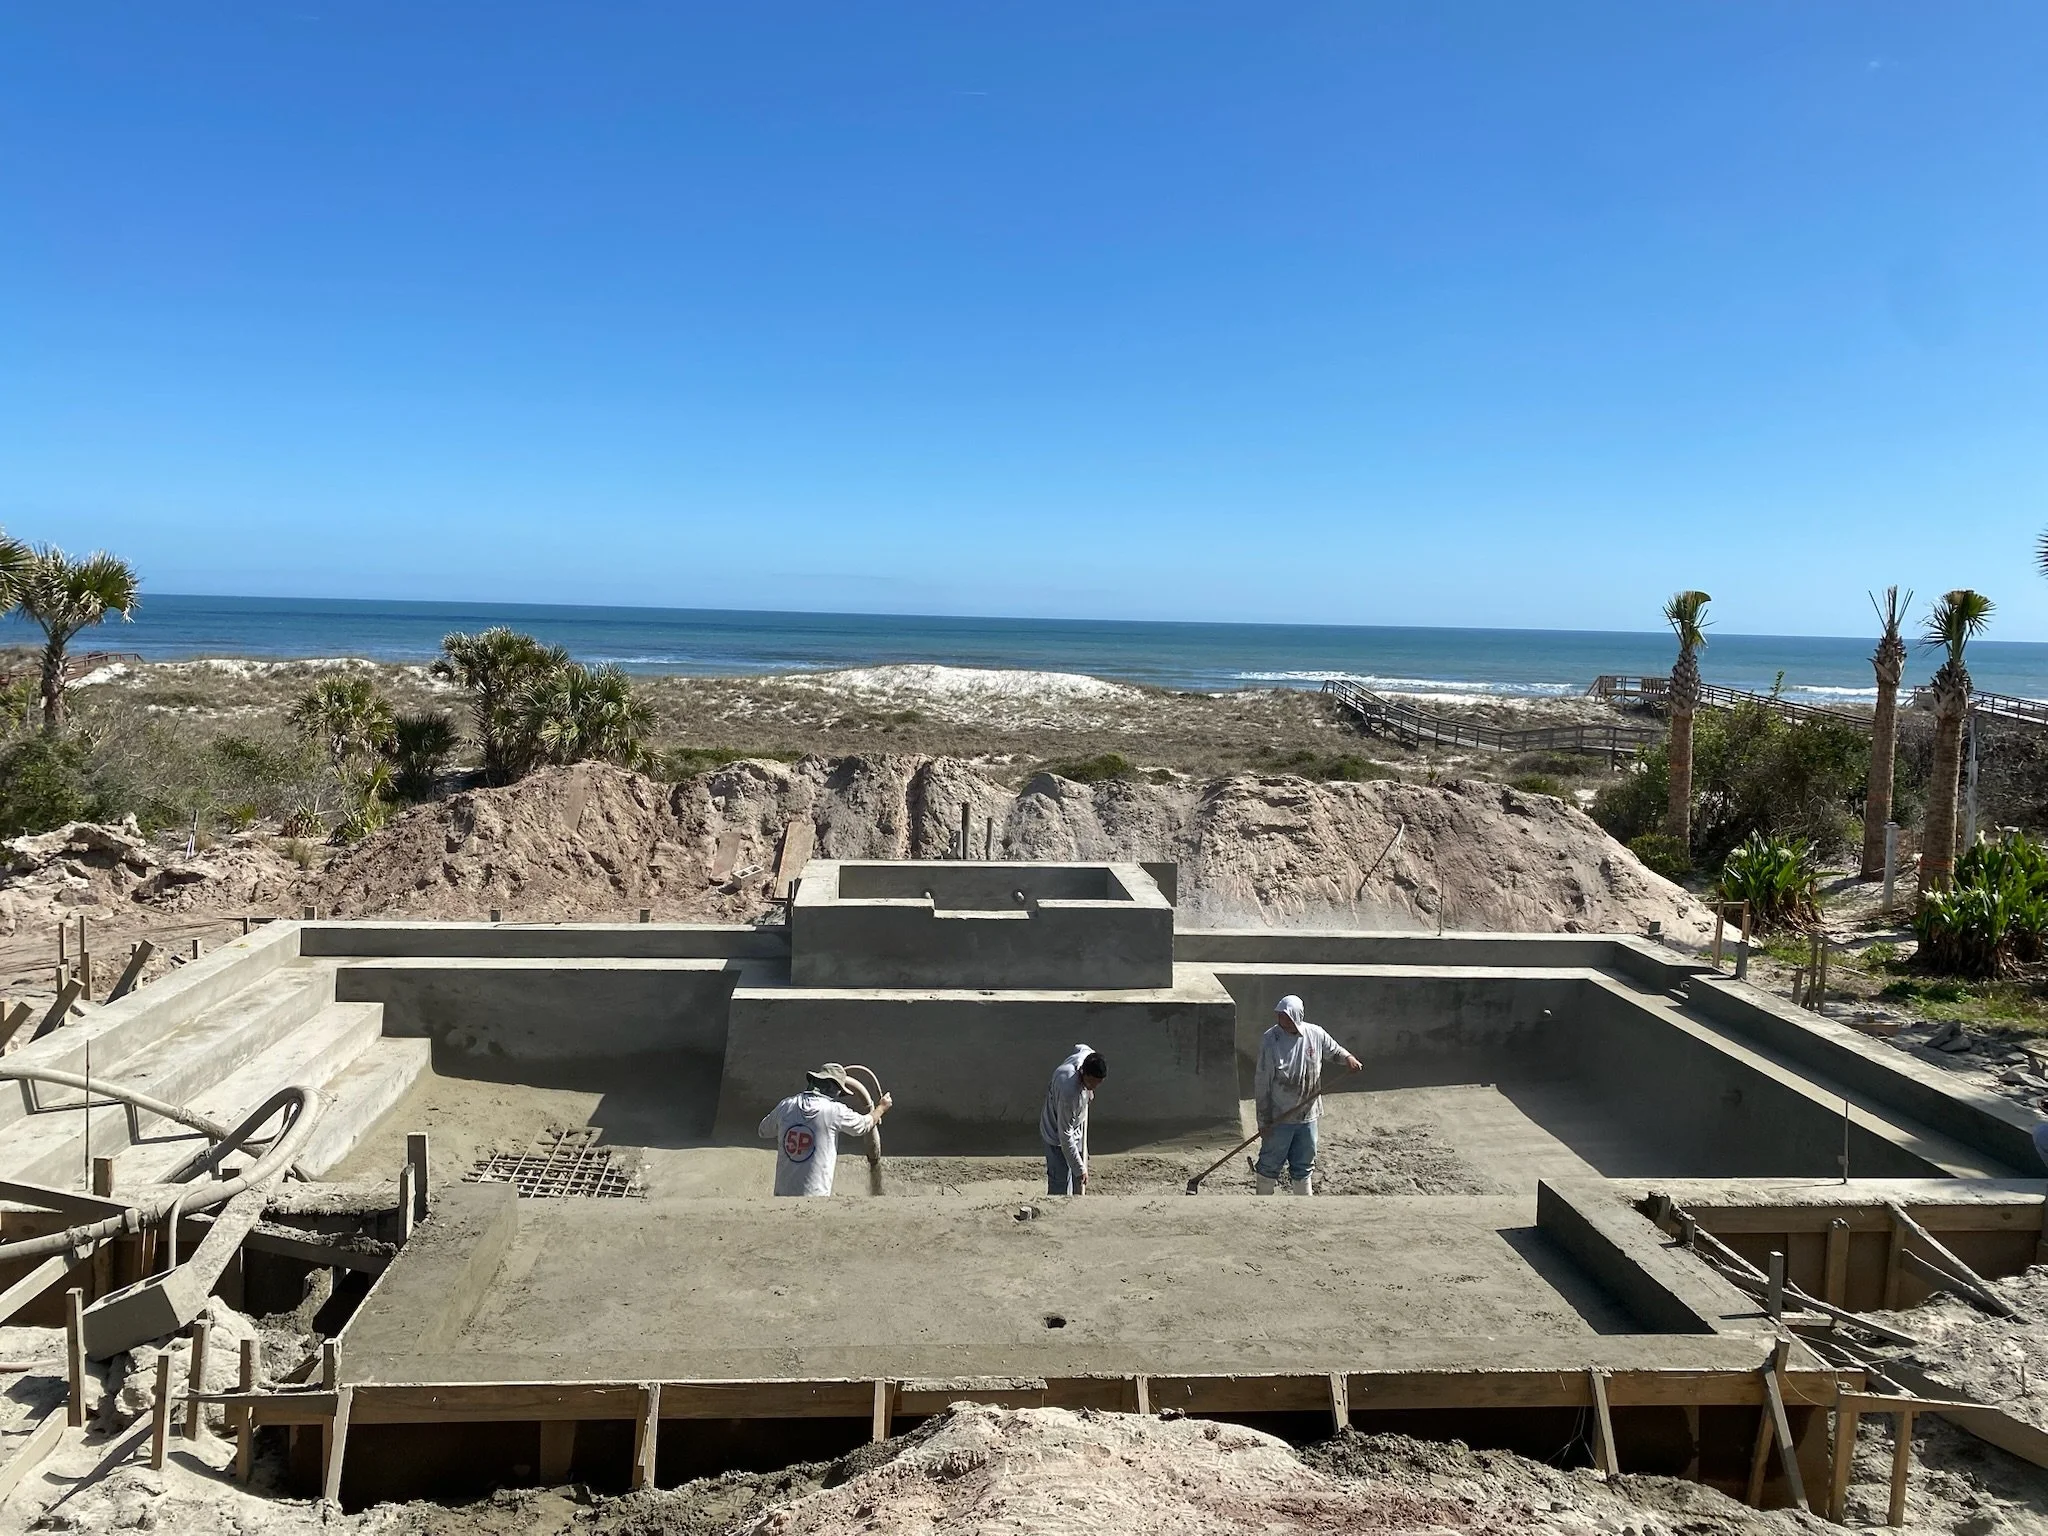
A gorgeous day for the pool project to start taking shape! Ultimately, we decided to only raise the pool up by 2 feet, which required us to install a stair landing that will go in between the house and the pool deck – that material arrives very soon!
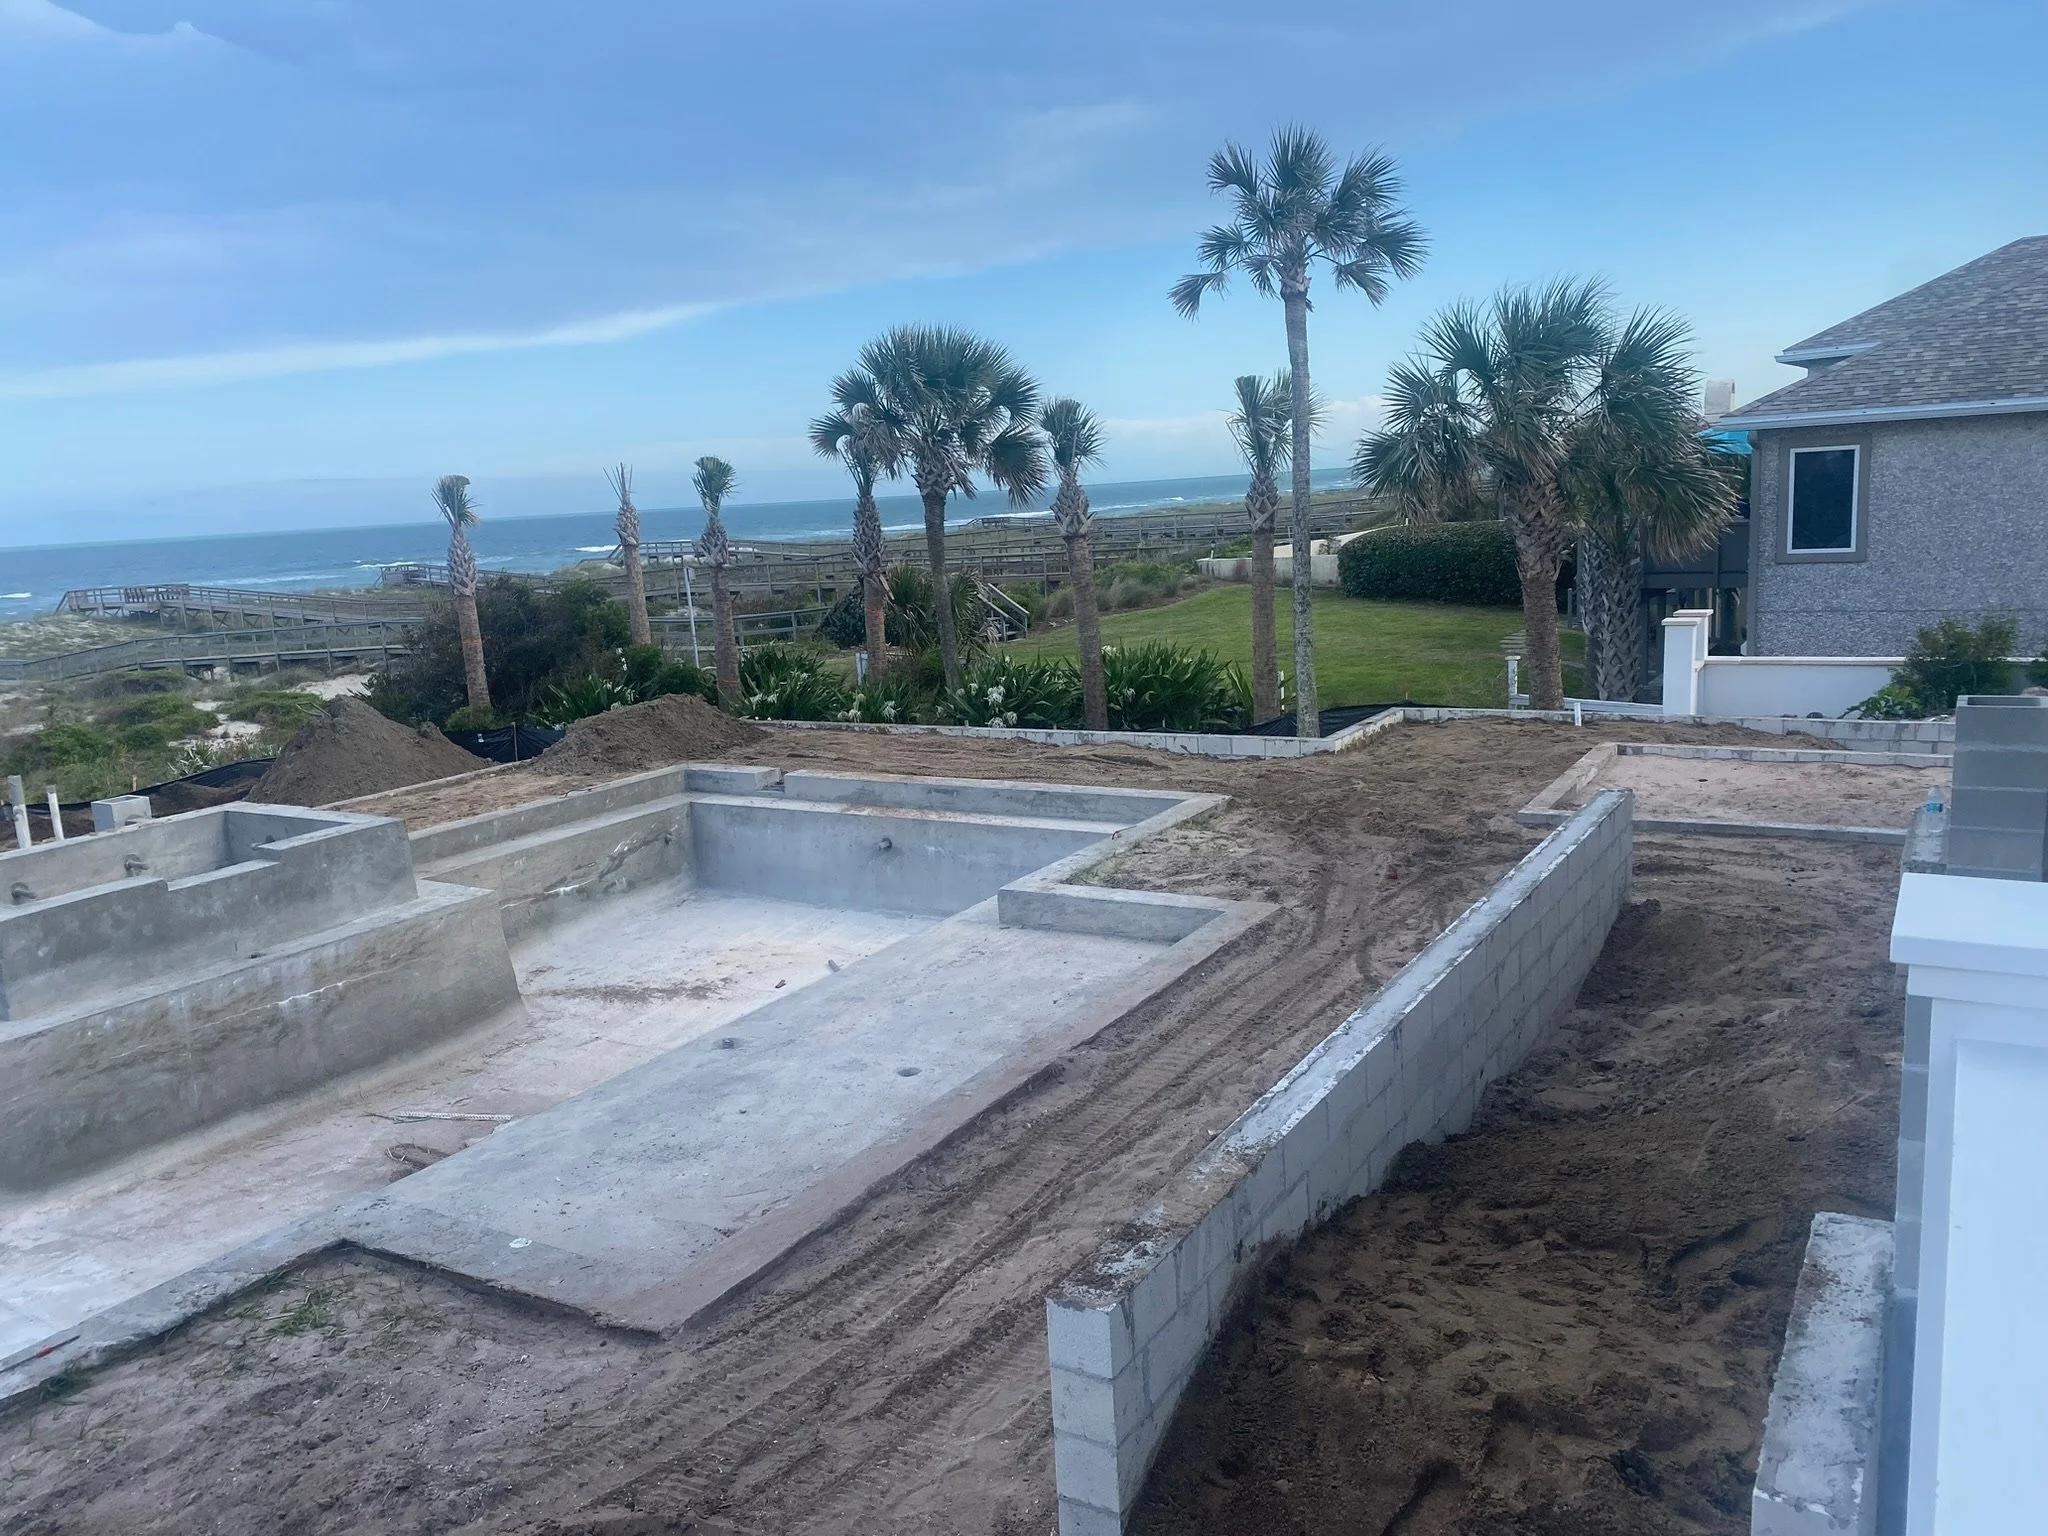
The landing is prepped and ready! This was one of the biggest transformations to the house and I am so excited for you to see how it turned out. Stay tuned for Part 4!
